How to :: manage languages in Toucan
Locale vs language: what’s the difference?
Locale includes language and other elements that are attached to the language.
For instance in the French locale (fr) we use the French language
but we also use space as a thousand separator and , as a decimal
separator.
On the other hand, in the English locale (en) we use the English
language and , and . as thousand and decimal separator
respectively.
Locales
The locales of the app are set up in the instance_settings.cson. It
is accessible from the instance page, after clicking on Parameters.
You can set up:
- availables locales
- default locale
It should look like this:
i18n:
  available_locales: [
    "fr"
    "en"
  ]
  default: "en"
This locale sets up:
- the language used in the menu (Glossary vs Glossaire, etc.). No need to set up a translation for those. The translation is automatic. Available languages menu : French and English.
- the format used for number (thousands and decimal separator) and dates. No need to set up expected format for those. The “translation” is automatic. Available formats : French and English.
- the translation to use for your slides (if you have set up a translation, see below).
The possible locales are:
en: Englishfr: Frenchit: Italiannl: Dutches: Spanishde: Germanpt: Portuguese
Translation
Let your users choose the language of their application directly from the home page!
Important
To activate translation, your locales should be set up properly as explained above.
To setup translation you’ll need to work on two things:
- your stories
- a dictionary file
Set up your stories
Important
Before starting, make sure you have the following set up in your
front_config.cson file, at the root of the config.
availableLocales: ["en","fr"]
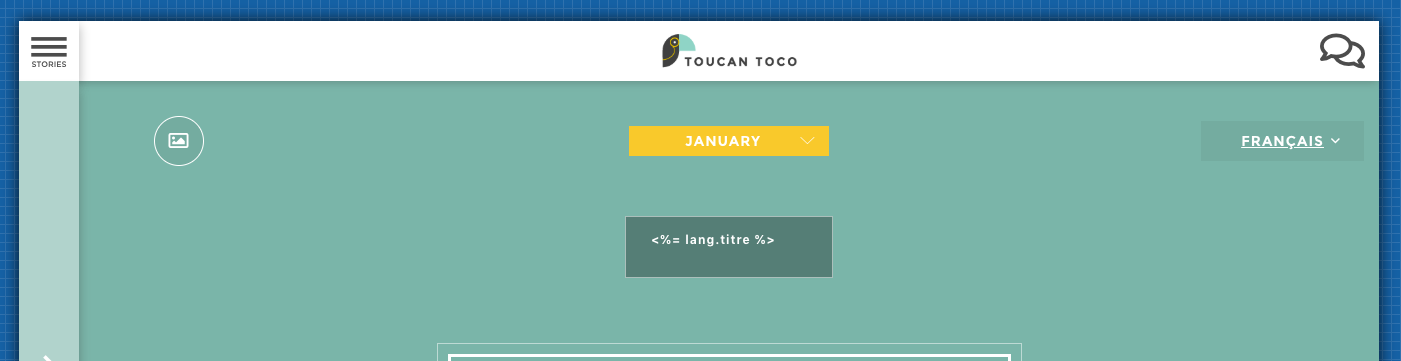
While configuring your stories, you have to flag the elements to translate. Like templating, you need to indicate to Toucan that this word will be dependending on the language picked by the user.
You need to type something like :
"<%= lang.ELEMENT_TO_TRANSLATE %>".
You can translate most of your story’s elements: Title, narrative, tips…
⚠️ ELEMENT_TO_TRANSLATE needs to be unique! It will be your
translation key in the dictionary.
Set up the dictionary
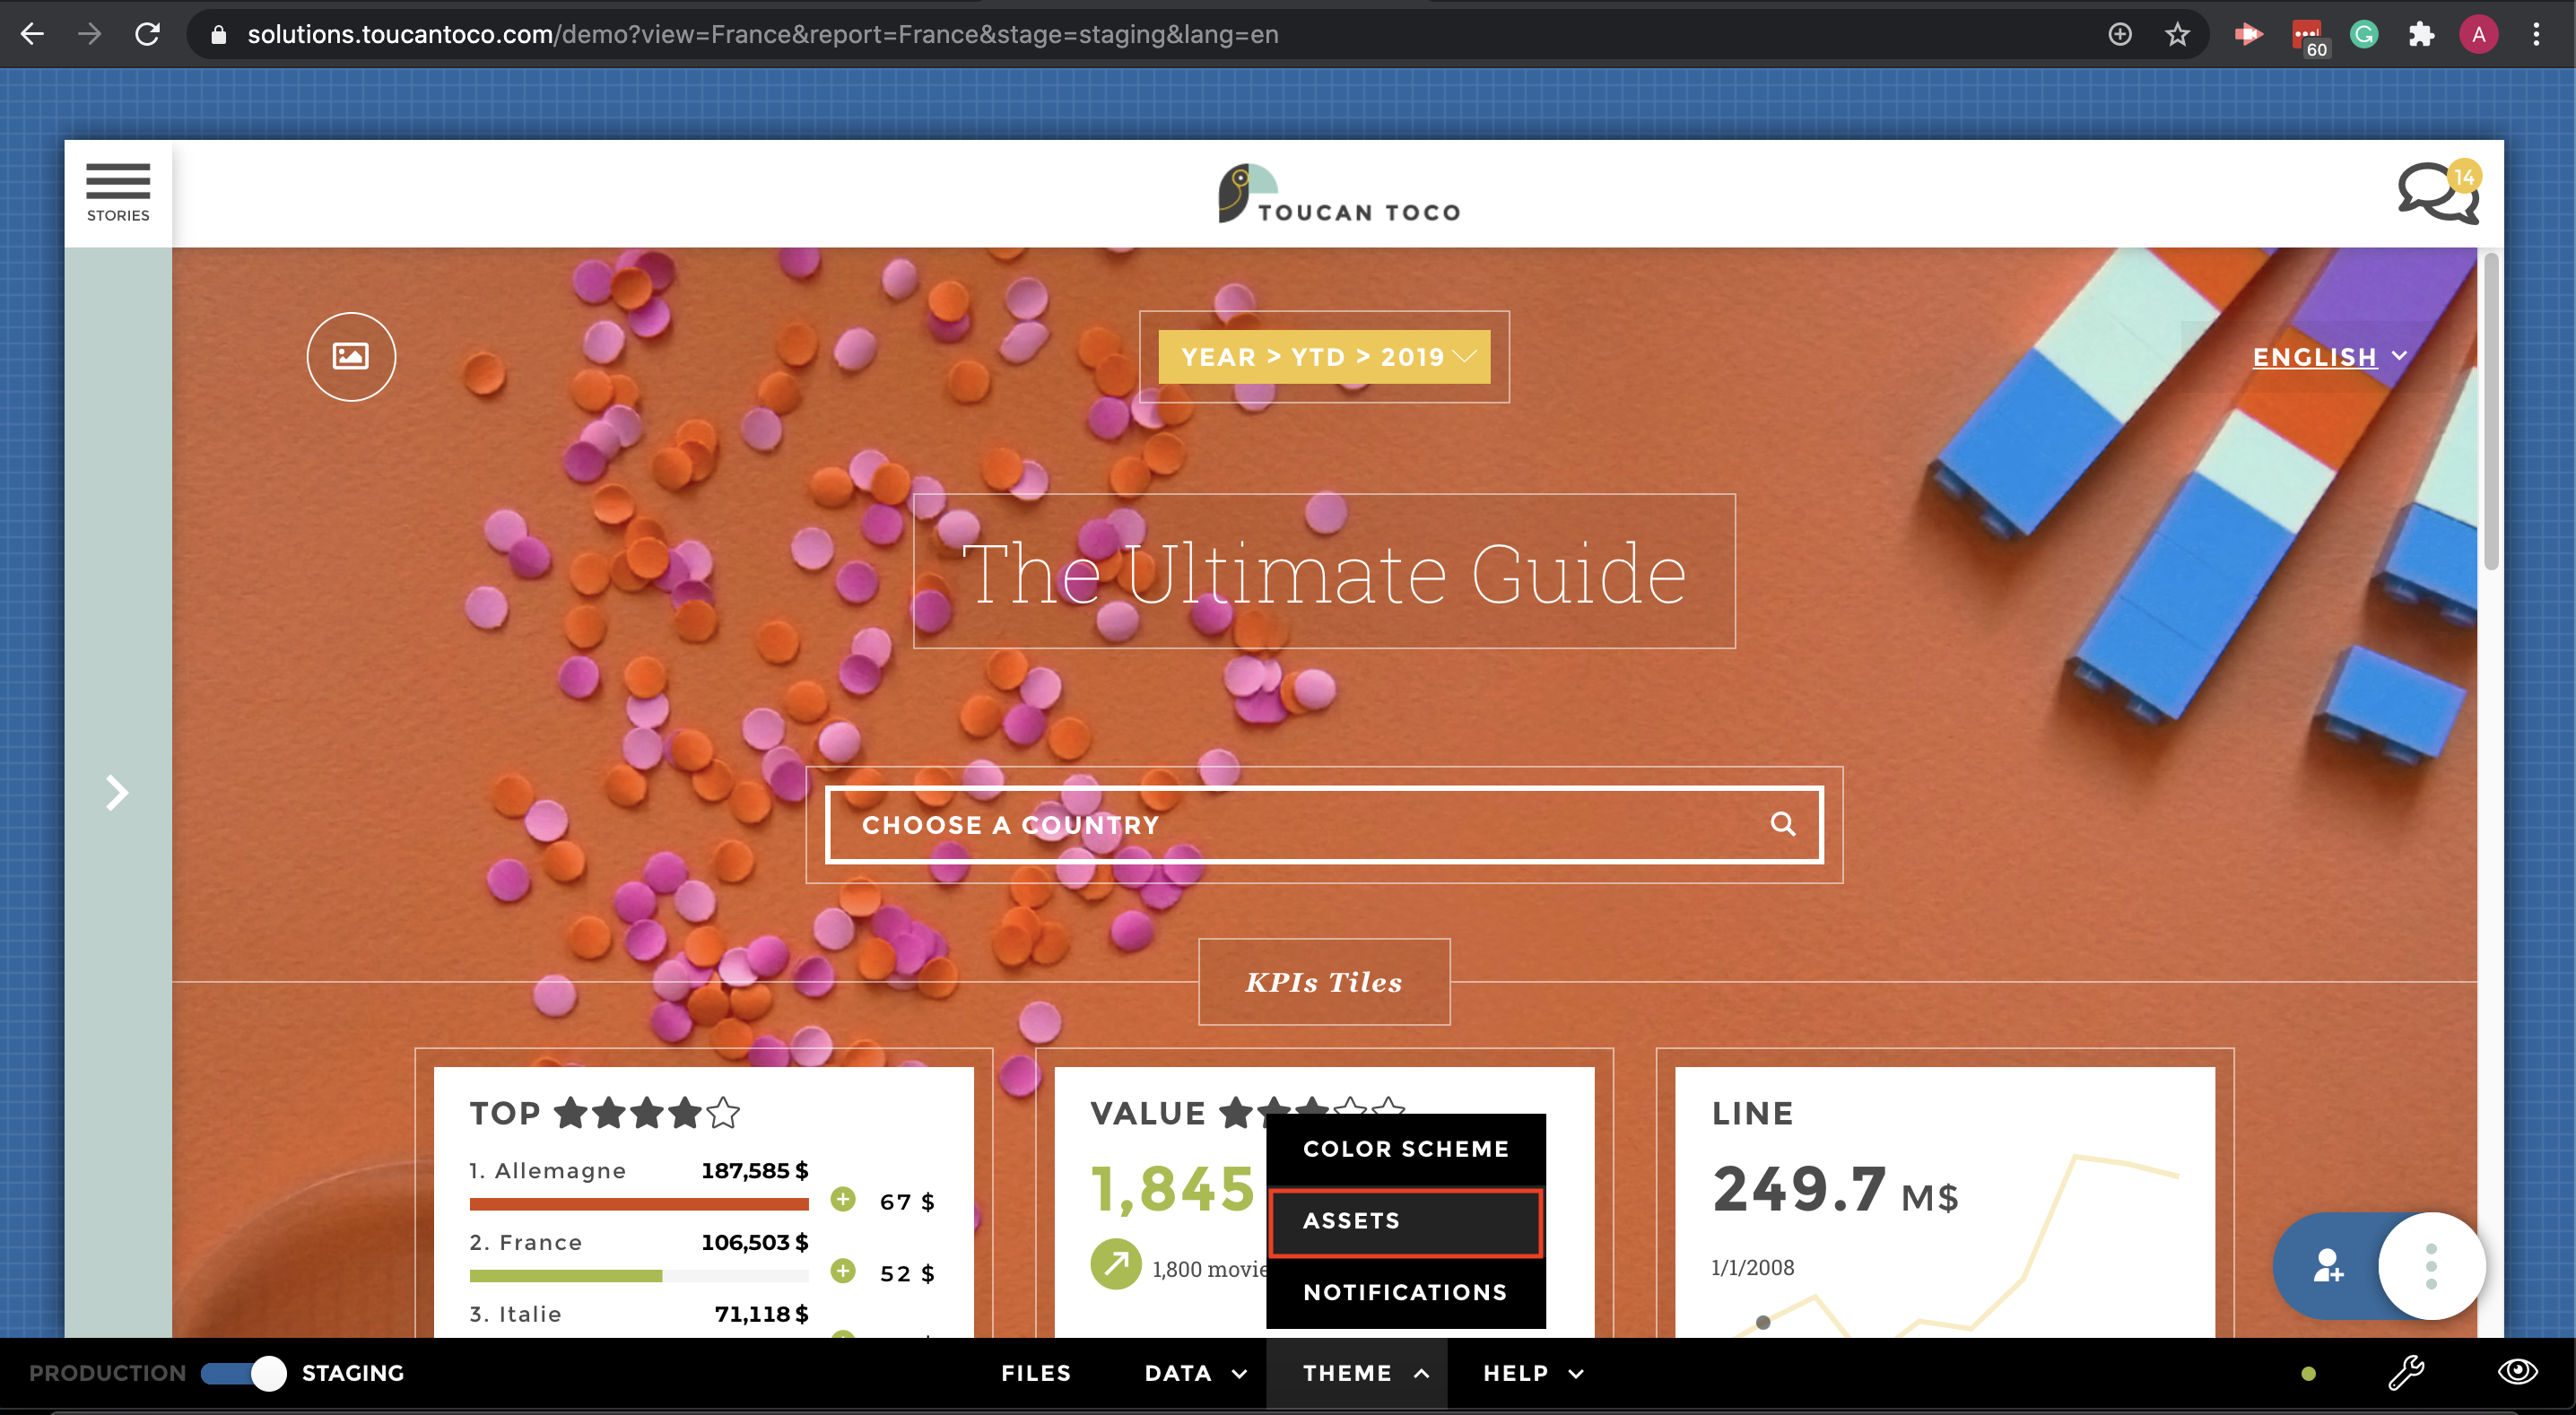
The translation dictionary is available from the Assets menu. At the
bottom, you can download the locales.cson file.
For each language you make available in your application, a traduction key must be written.
In the dictionary, all you need to do is write down the traduction key an it’s translated value for each of the language available to your user.
It should look like this:
en:
  "ELEMENT_TO_TRANSLATE_1": "Global sales"
  "ELEMENT_TO_TRANSLATE_2": "Slide Title"
fr:
  "ELEMENT_TO_TRANSLATE_1": "Ventes Globales"
  "ELEMENT_TO_TRANSLATE_2": "Titre Slide"
Don’t forget to drop the modified locales.cson file, and you’re all
set!
Let’s practice !
🌎 We need to define the language at two levels:
- Instance’s level ==> On the Instance settings file to define the available locales.
- App’s level ==> On your front config to declare the use of different languages + the locales.cson file to set up your dictionary
Important
You need to contact the support in order to update the instance_settings file. Please reach to help@toucantoco.com .
1/ On your appStore Click on “Admin Area” > “Settings”
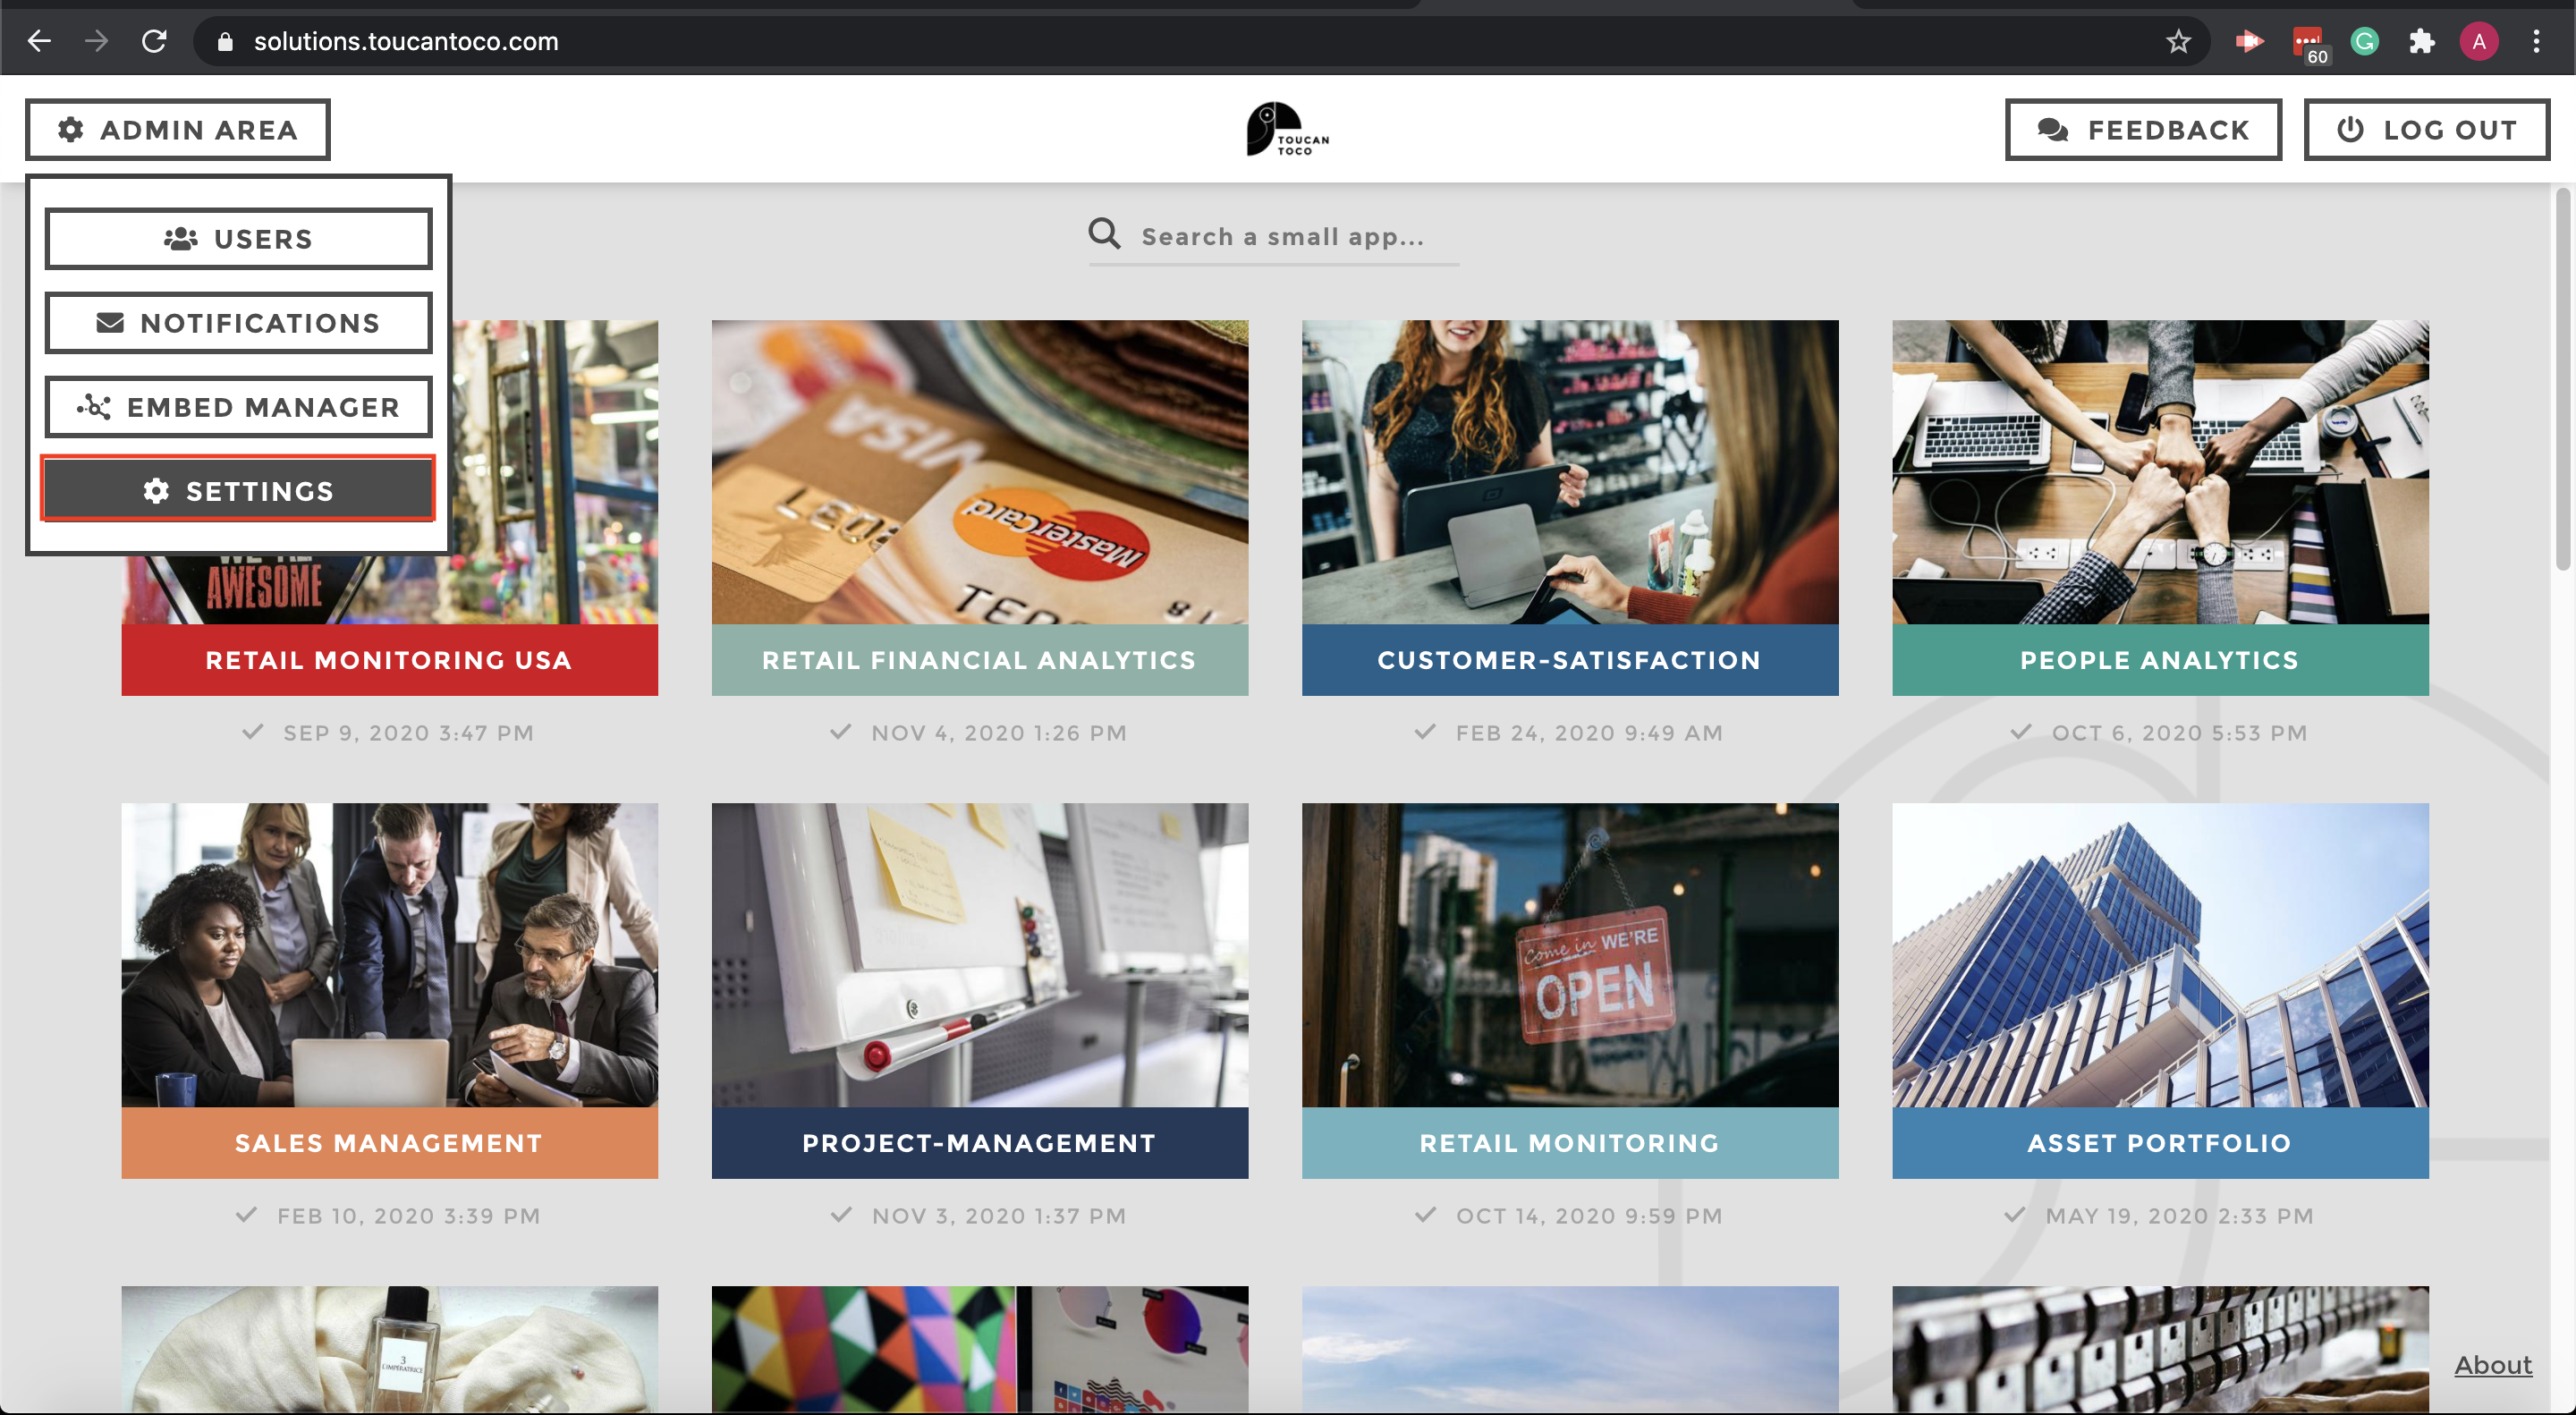
Admin Area
2/ Download the Instance settings file
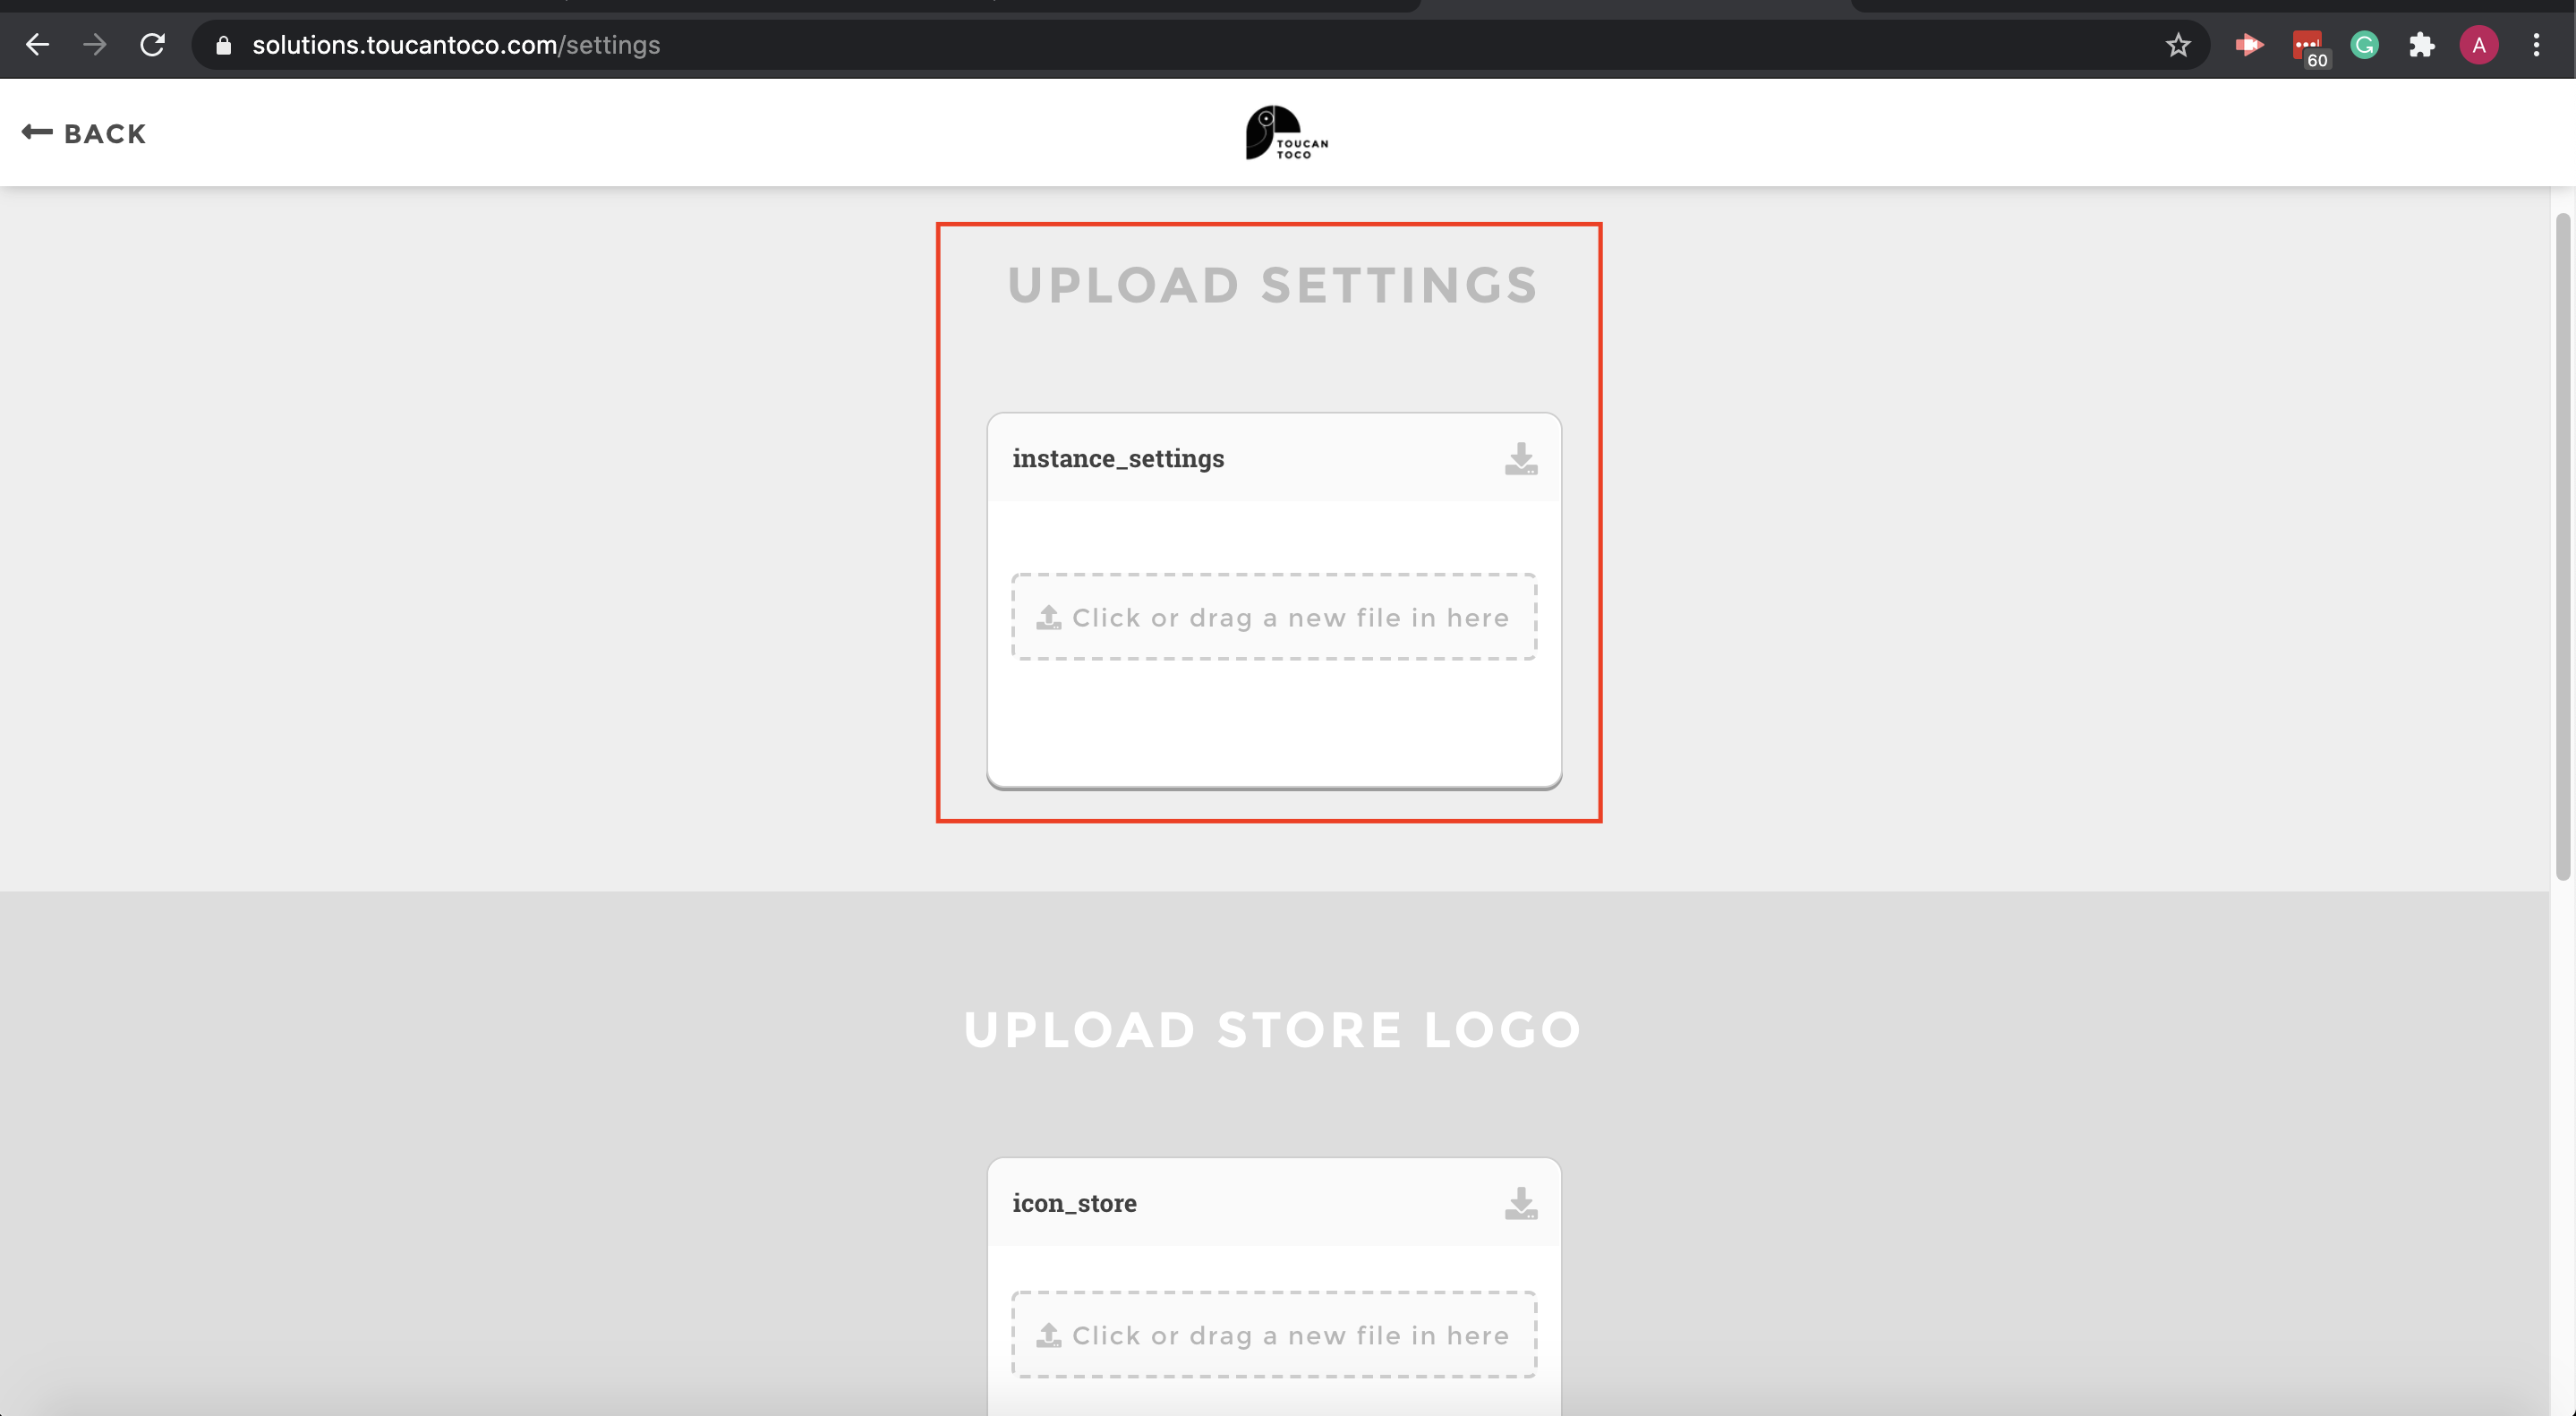
instance setting file
3/ Look at the i18n block. By default you will find the following block. Nonetheless, you can add some new languages or switch the default value
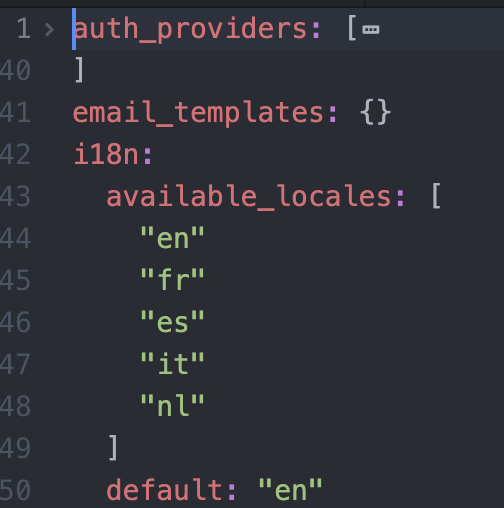
i18n
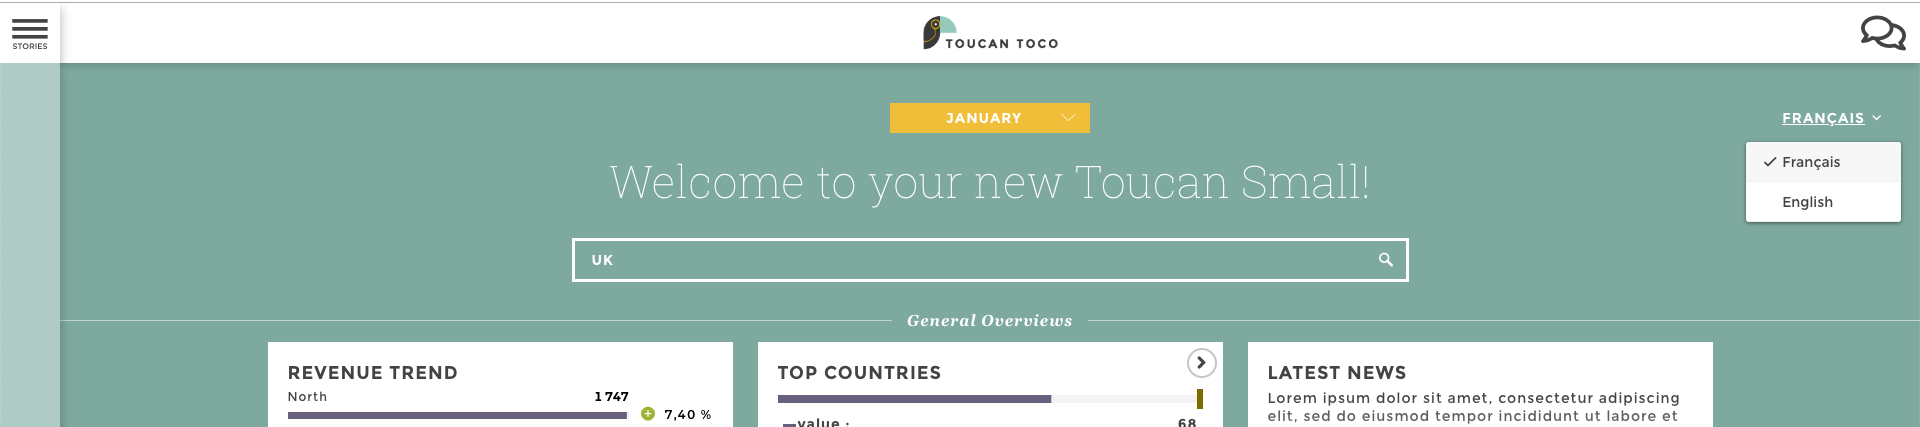
4/ On your app level, you will be able to edit the available language (on the app’s homepage)
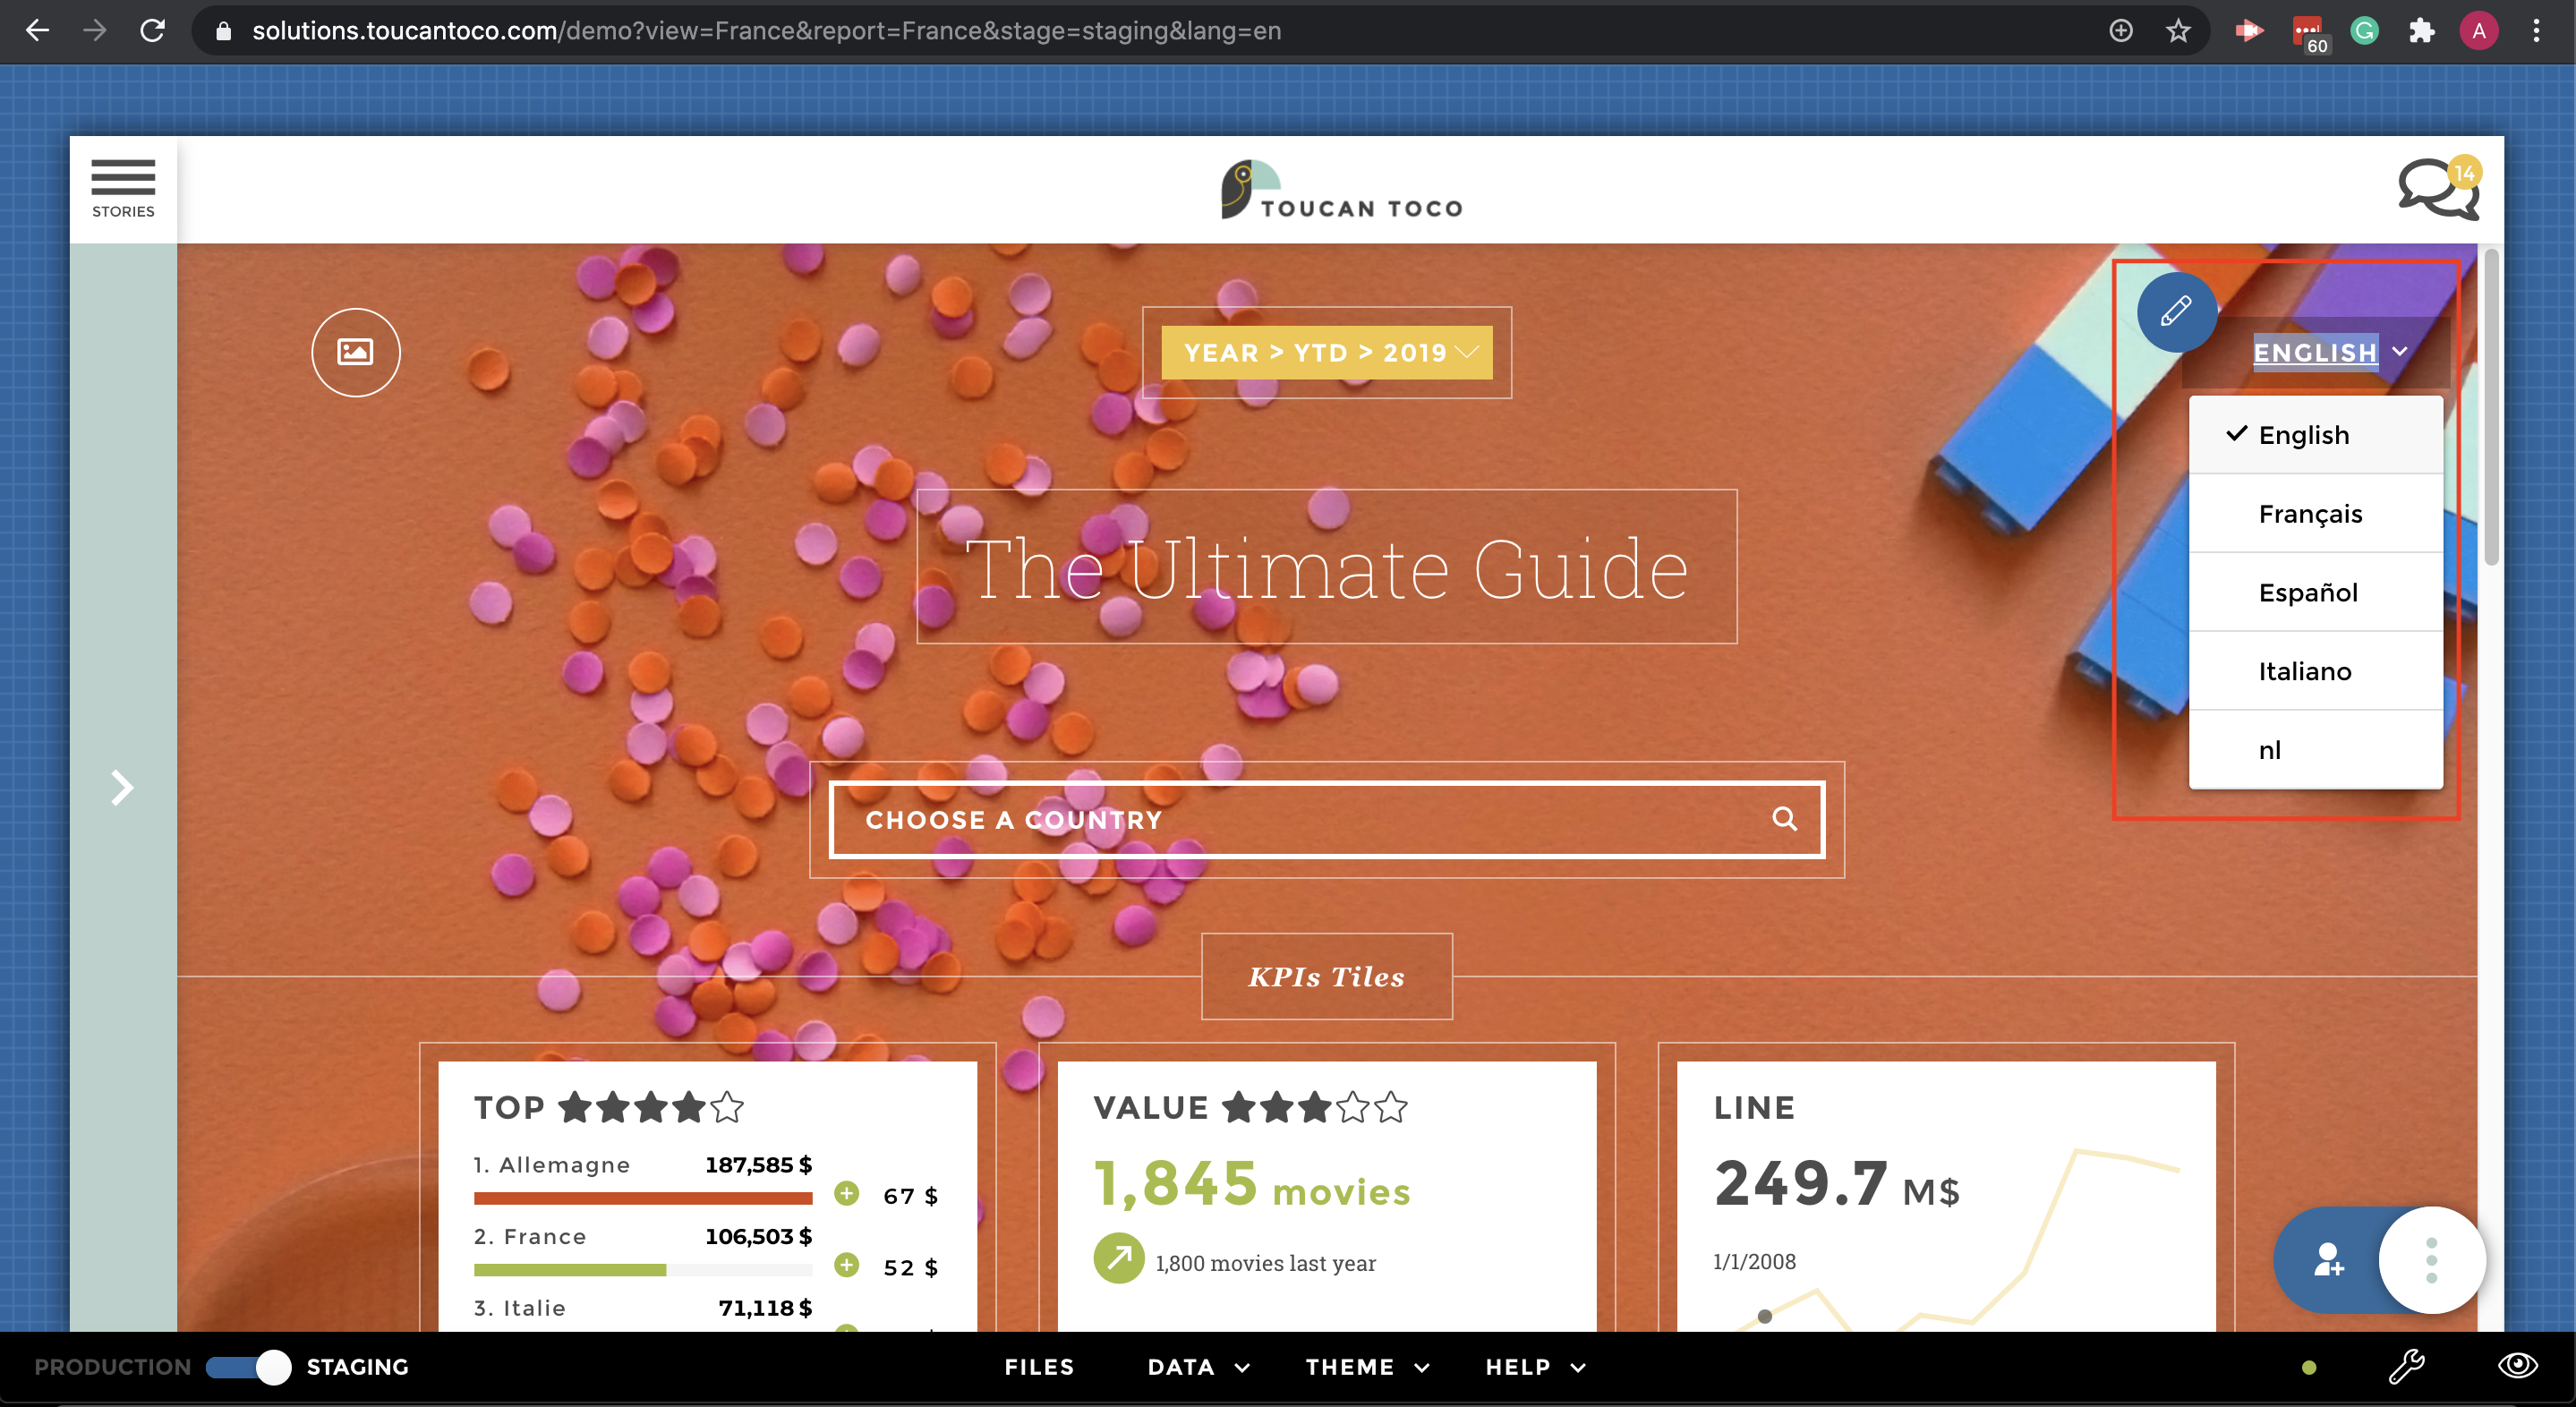
app level
After defining the available language at the instance level you need to add an element on the front config to declare the language you’re going to use at your app level:
1/ Open your front_config.cson
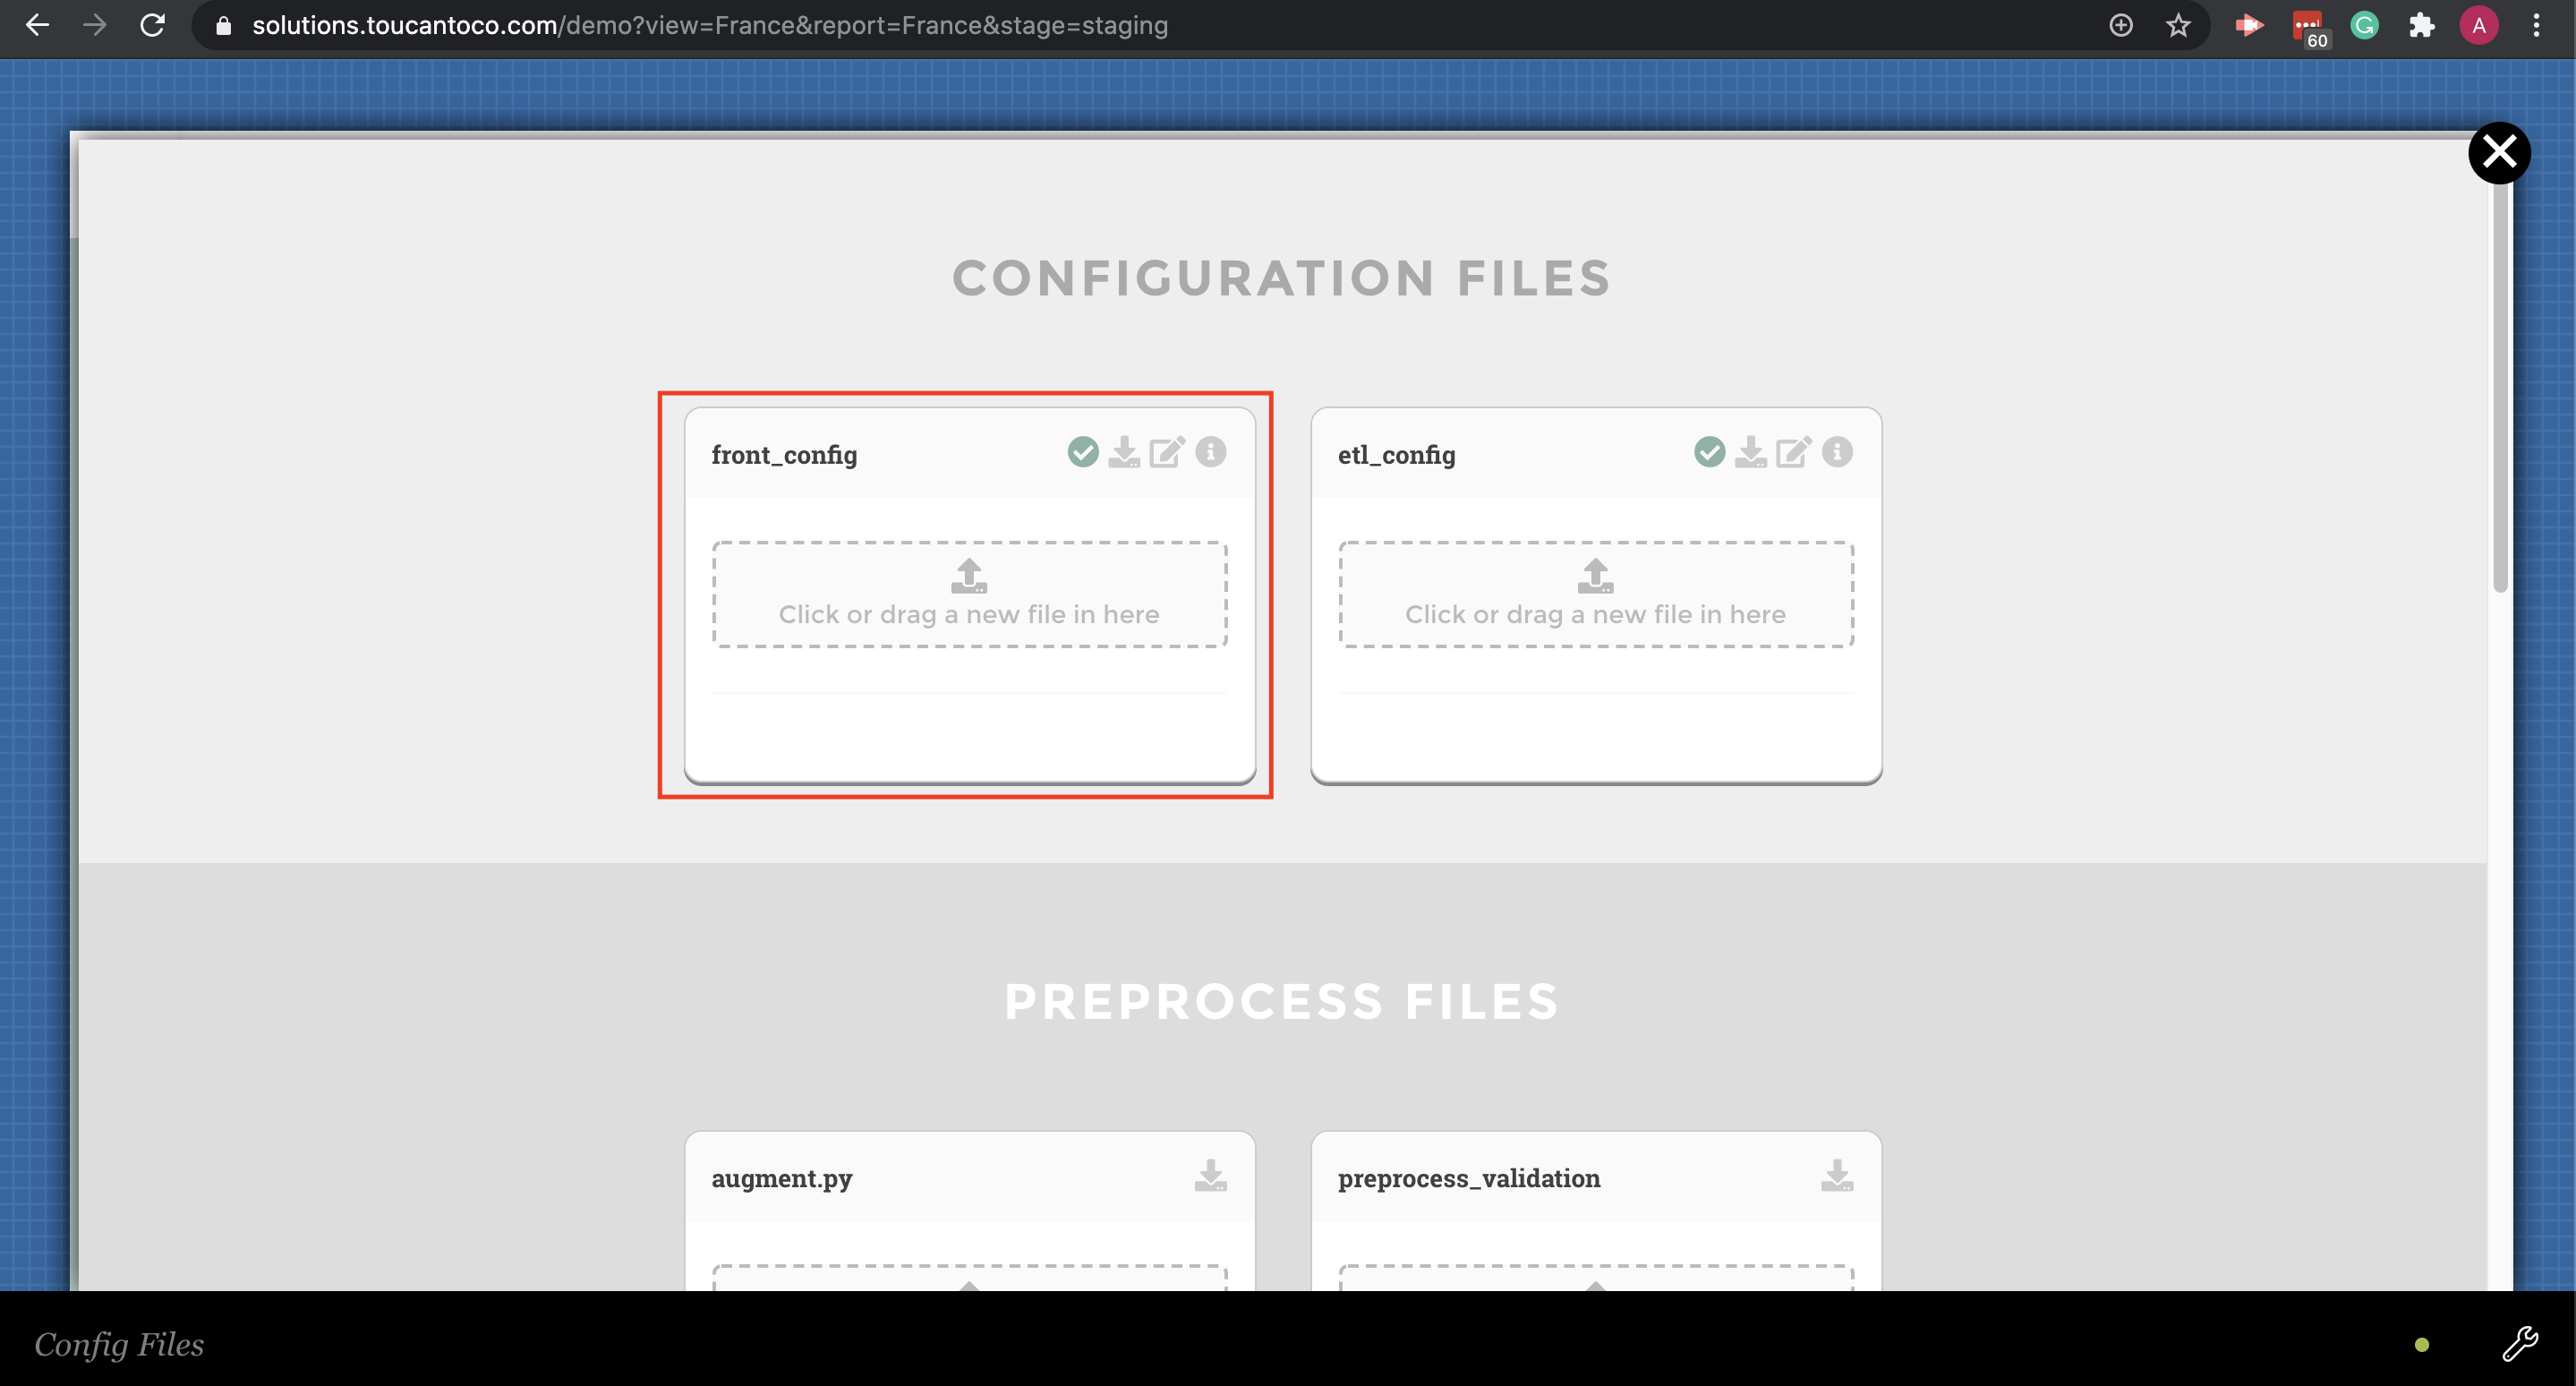
front config
2/ Add the following syntax at the first level of indentation ==> availableLocales: [“en”,”fr”]
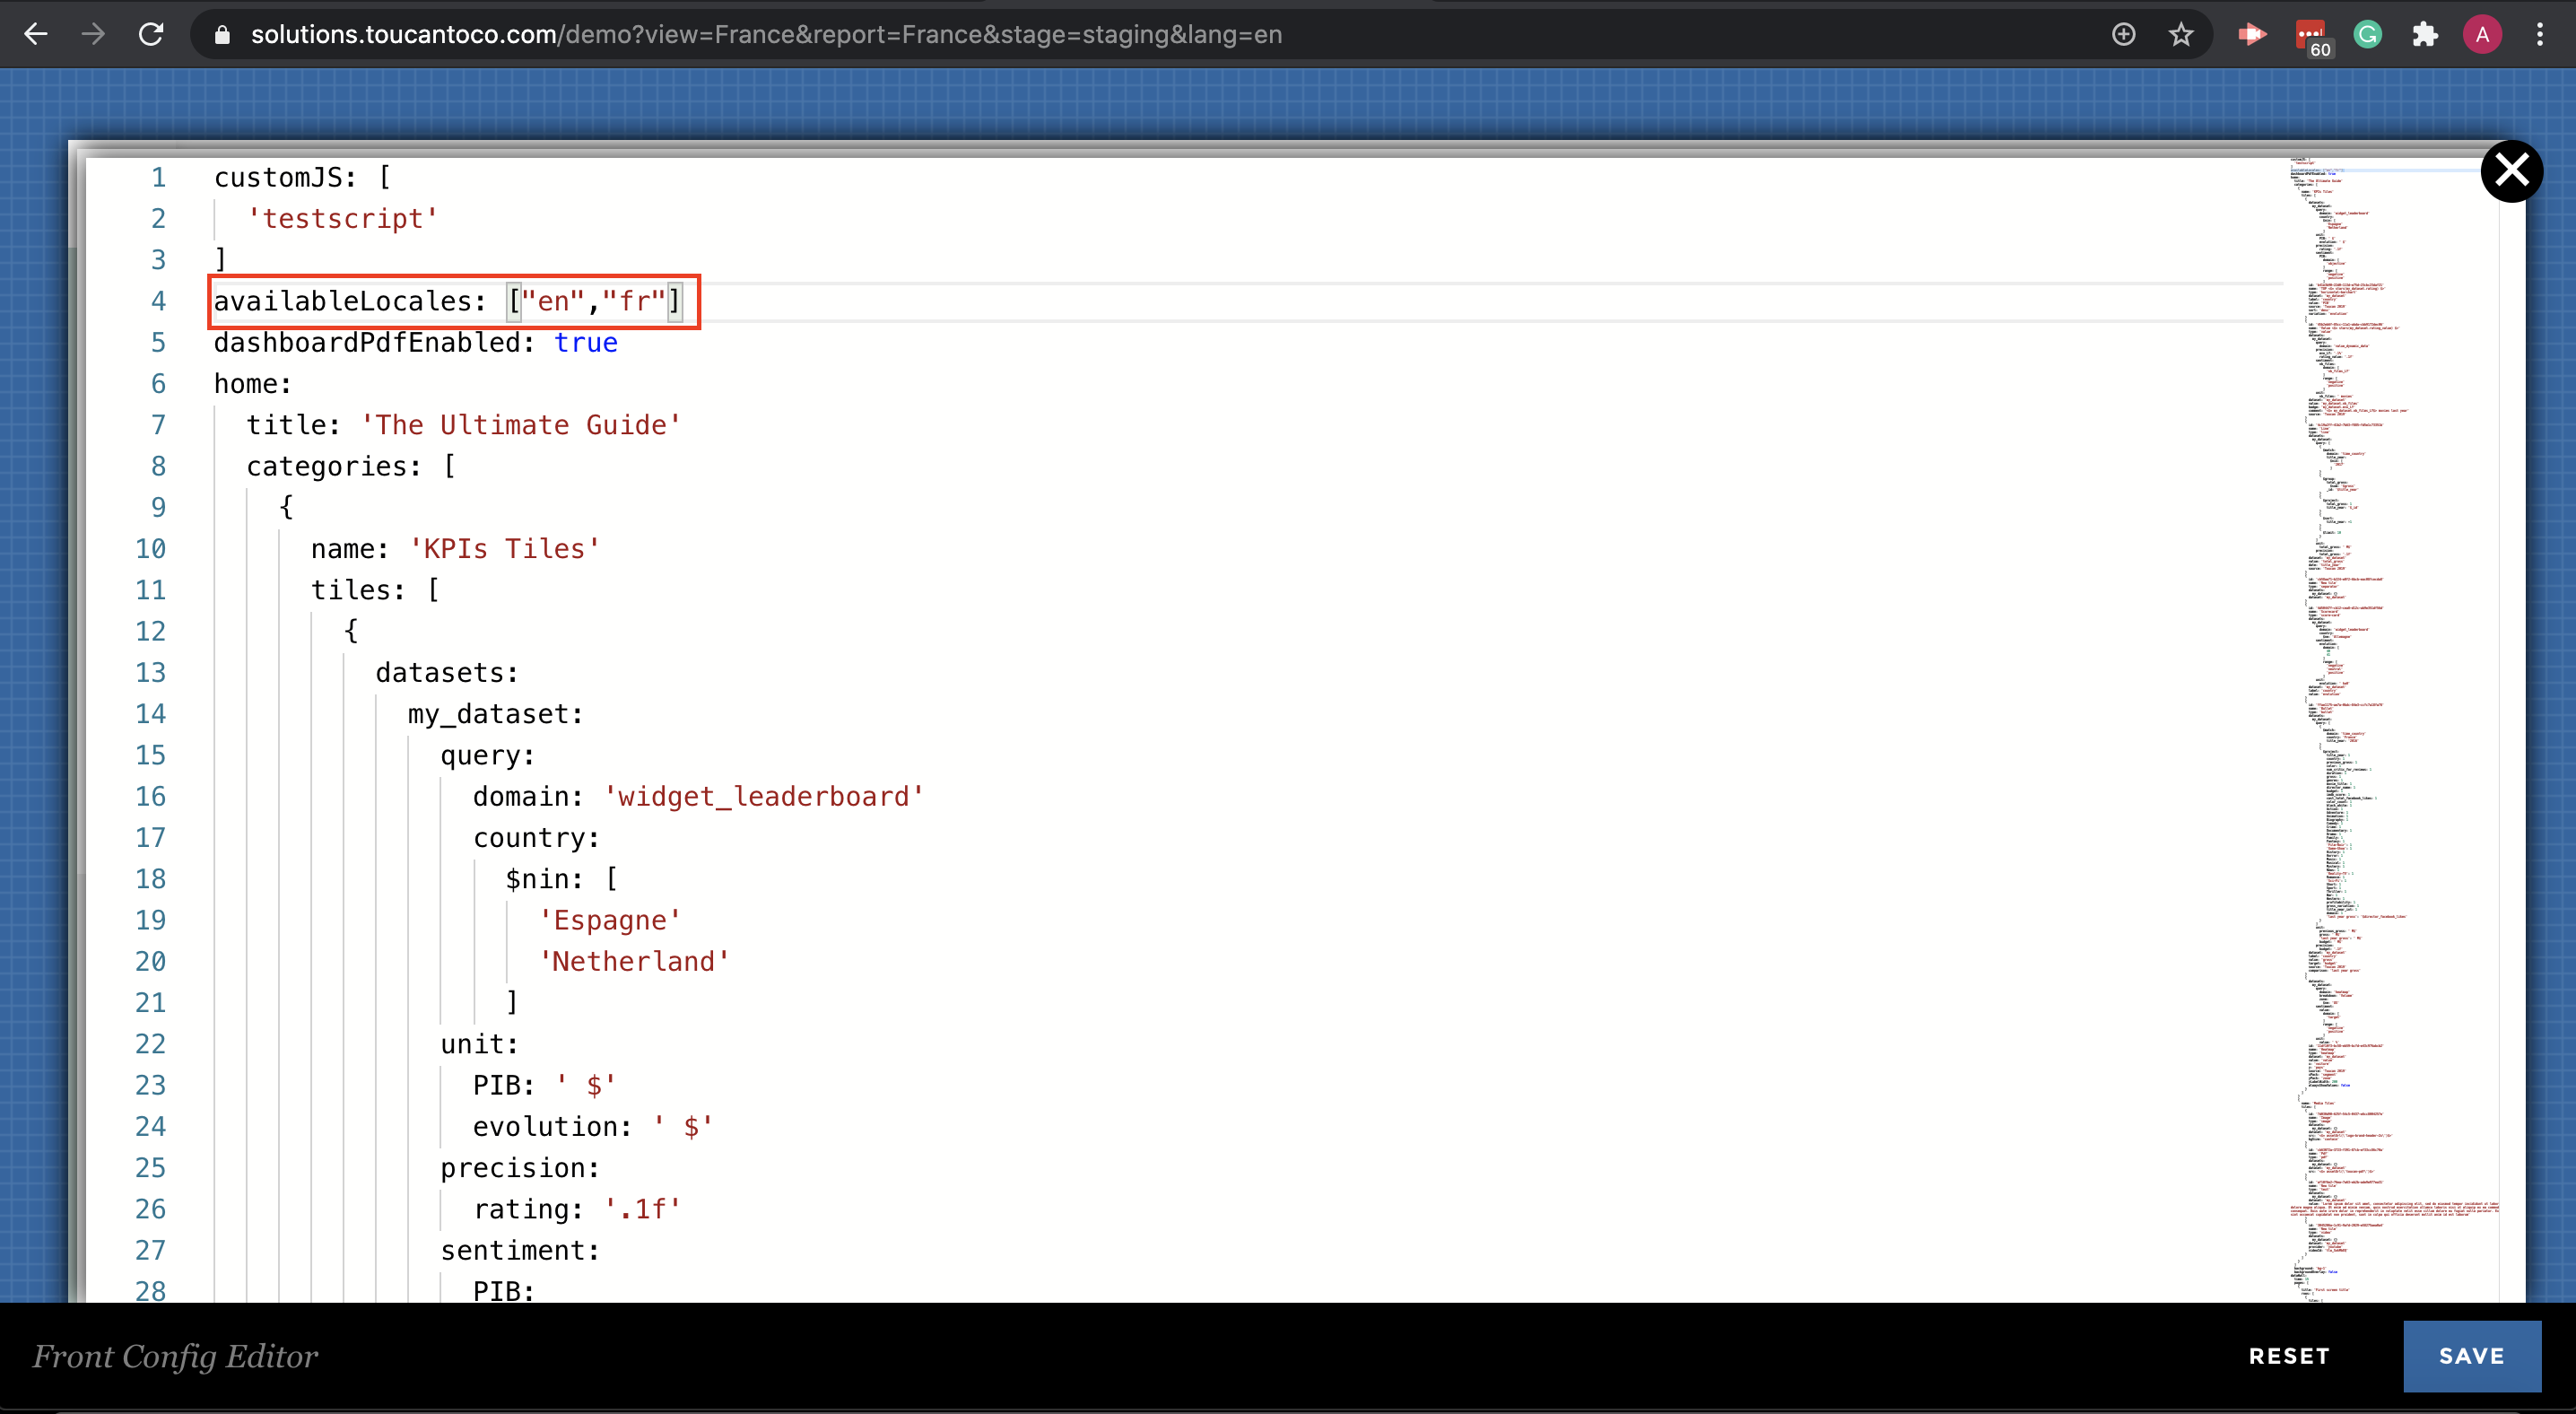
front config mode edition
1/ Where can I find the Locales.cson file
asset locales
2/ Then download the locales.cson file at the bottom of the Assets menu
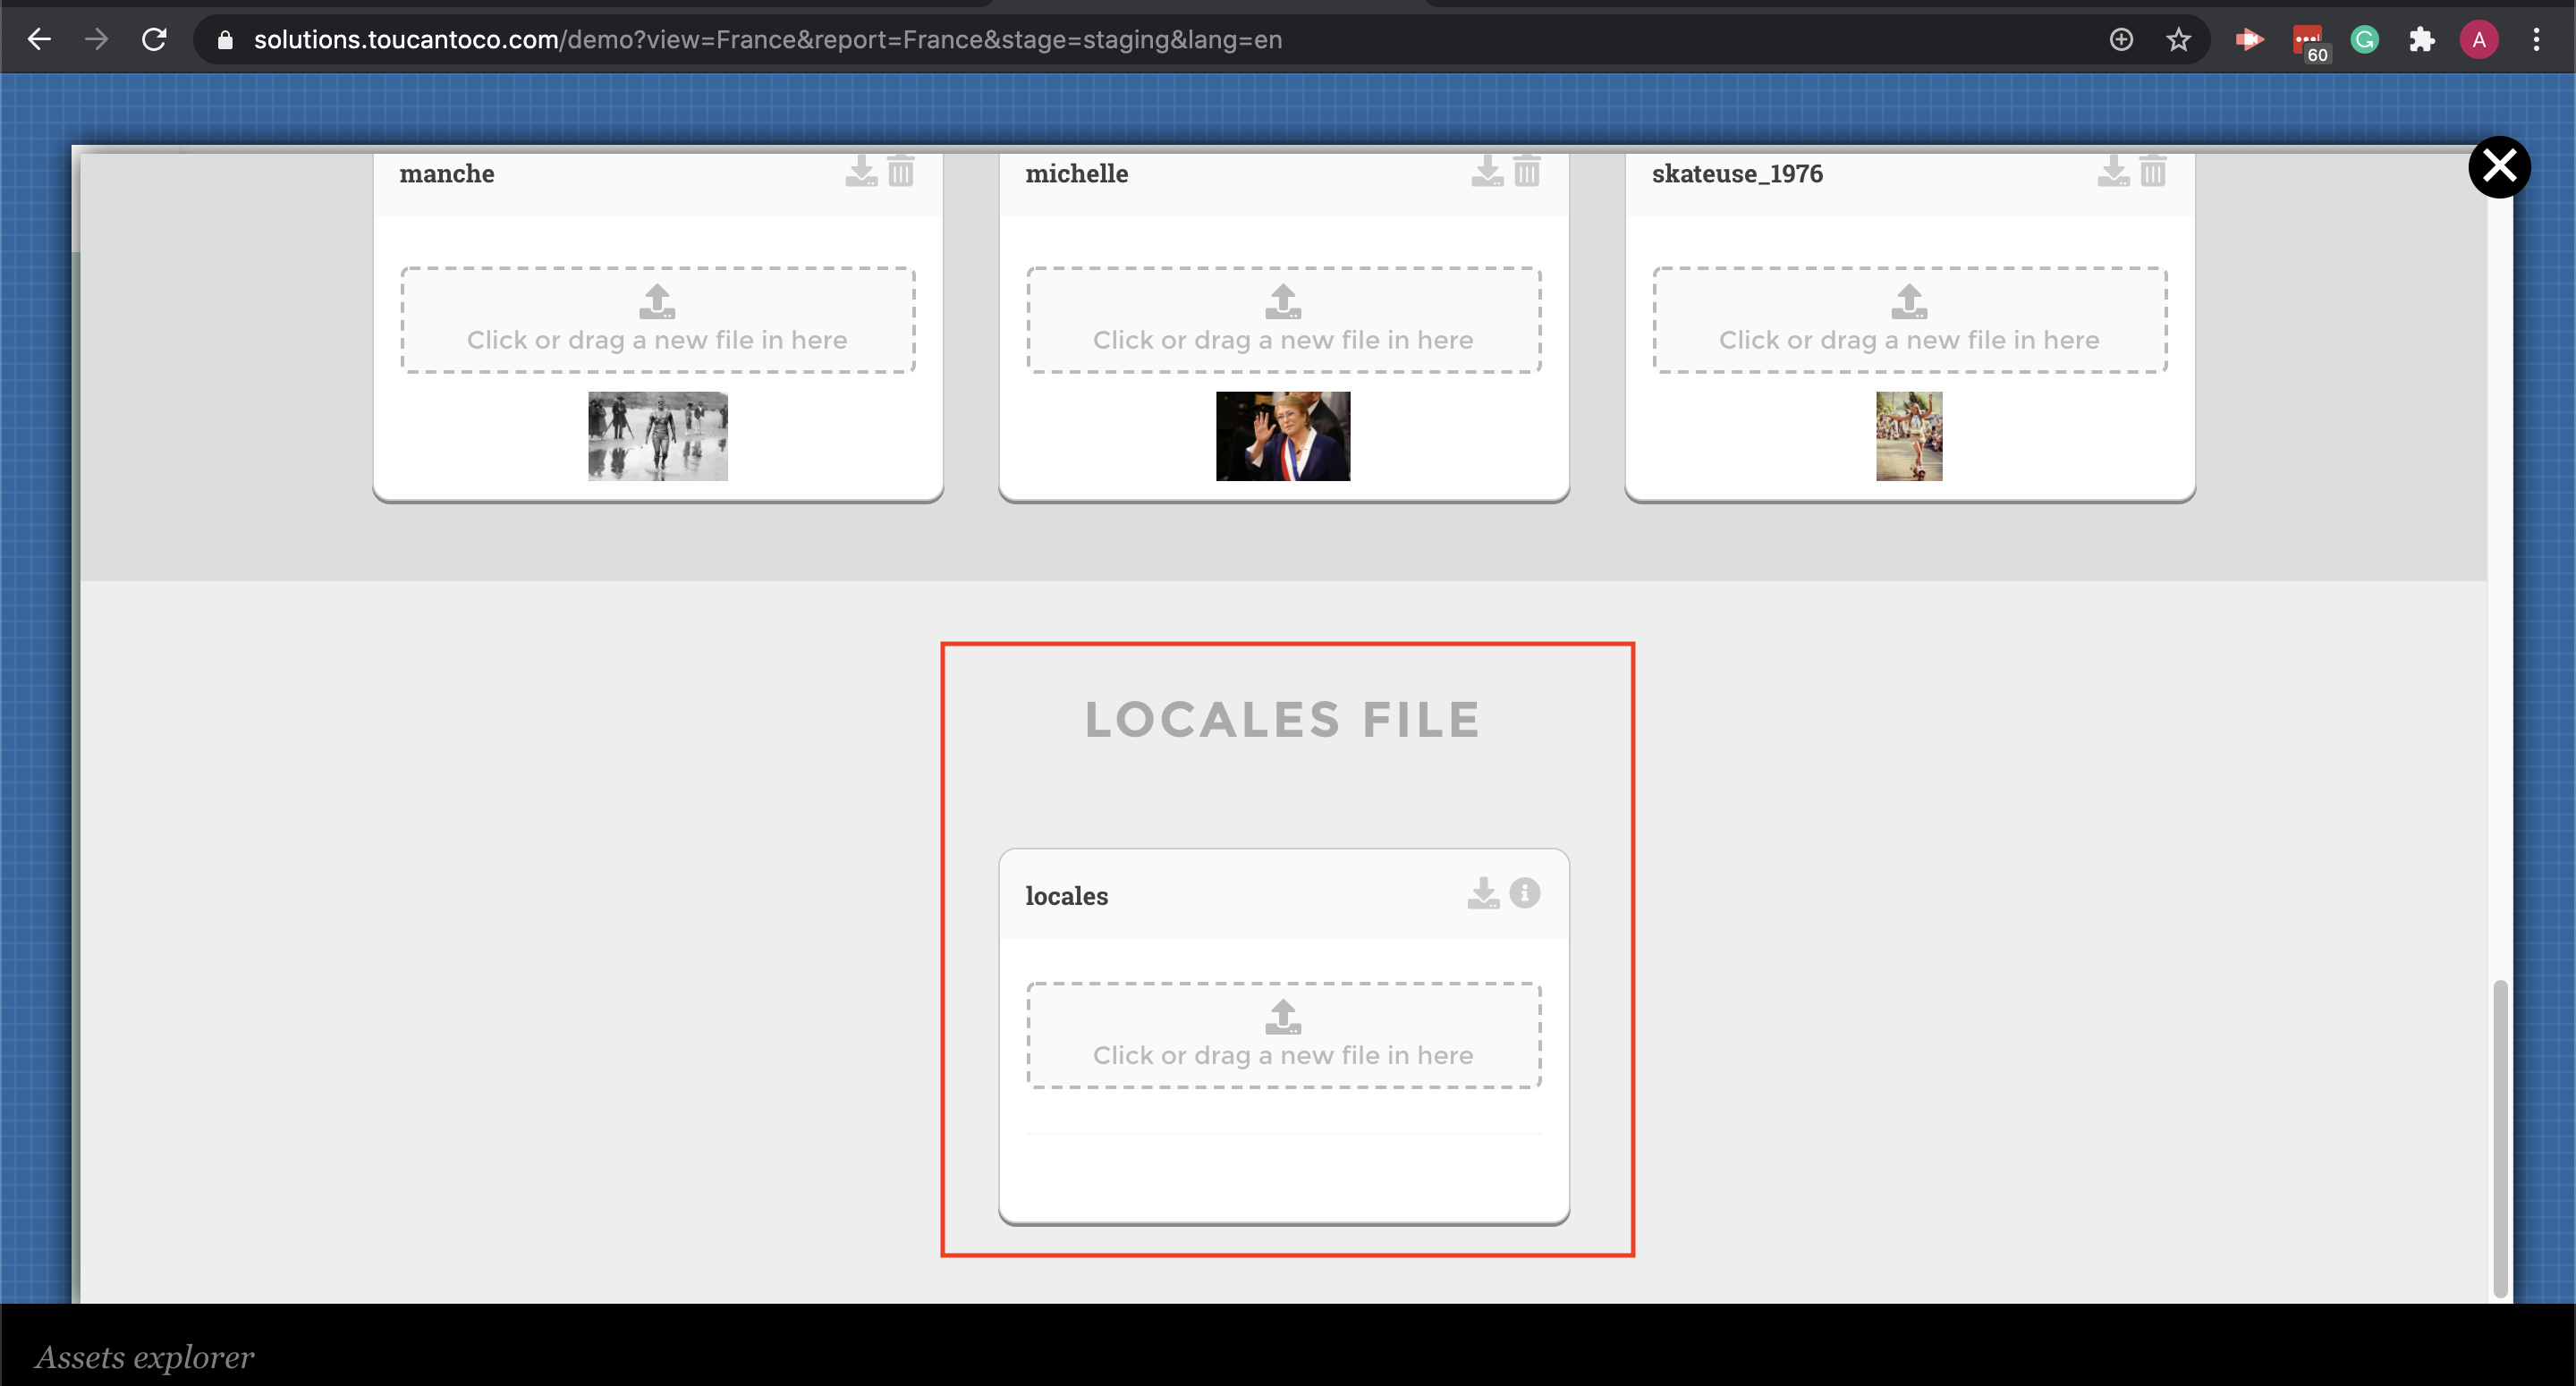
locales.cson
3/ Add your elements to the dictionary following the syntax and drop your file:
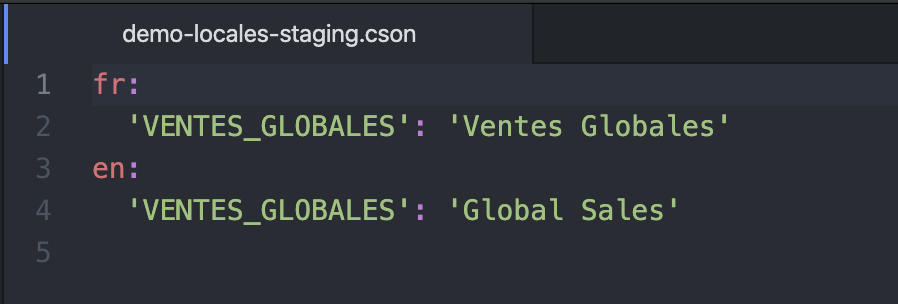
locales syntax
4/ You can now use the templating to call your locales variable
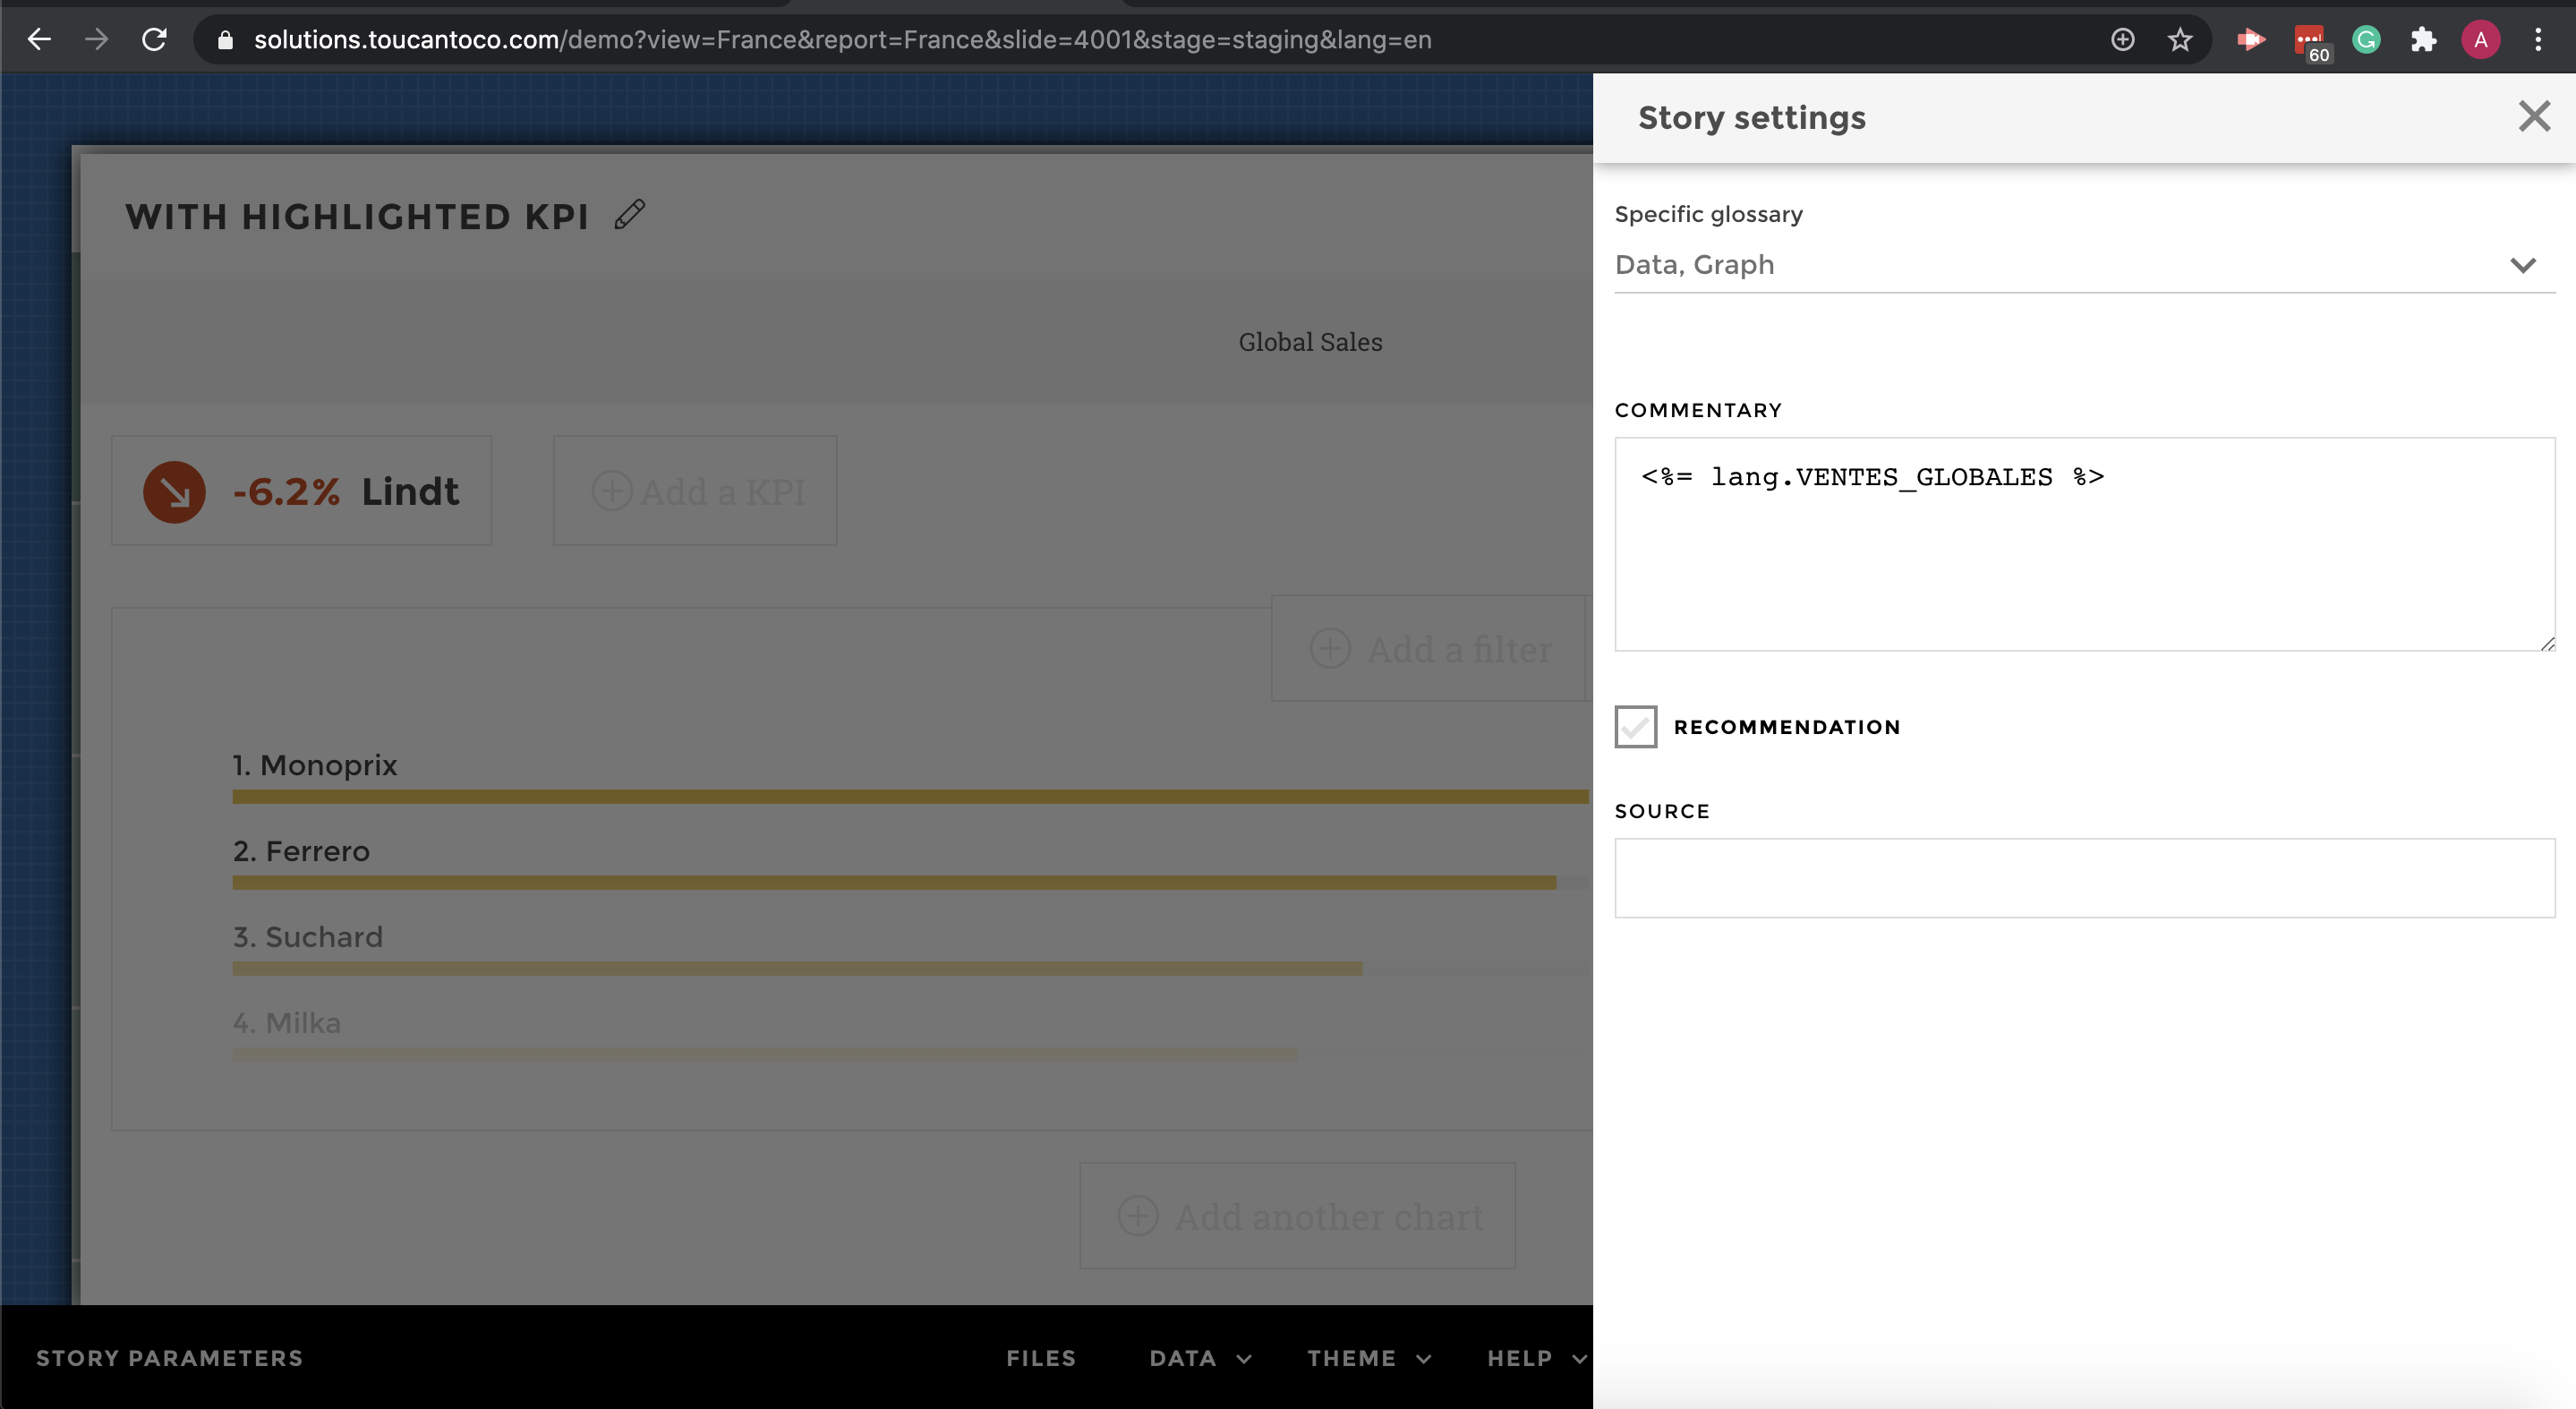
locales variable
5/ Tadaa in English 🇬🇧
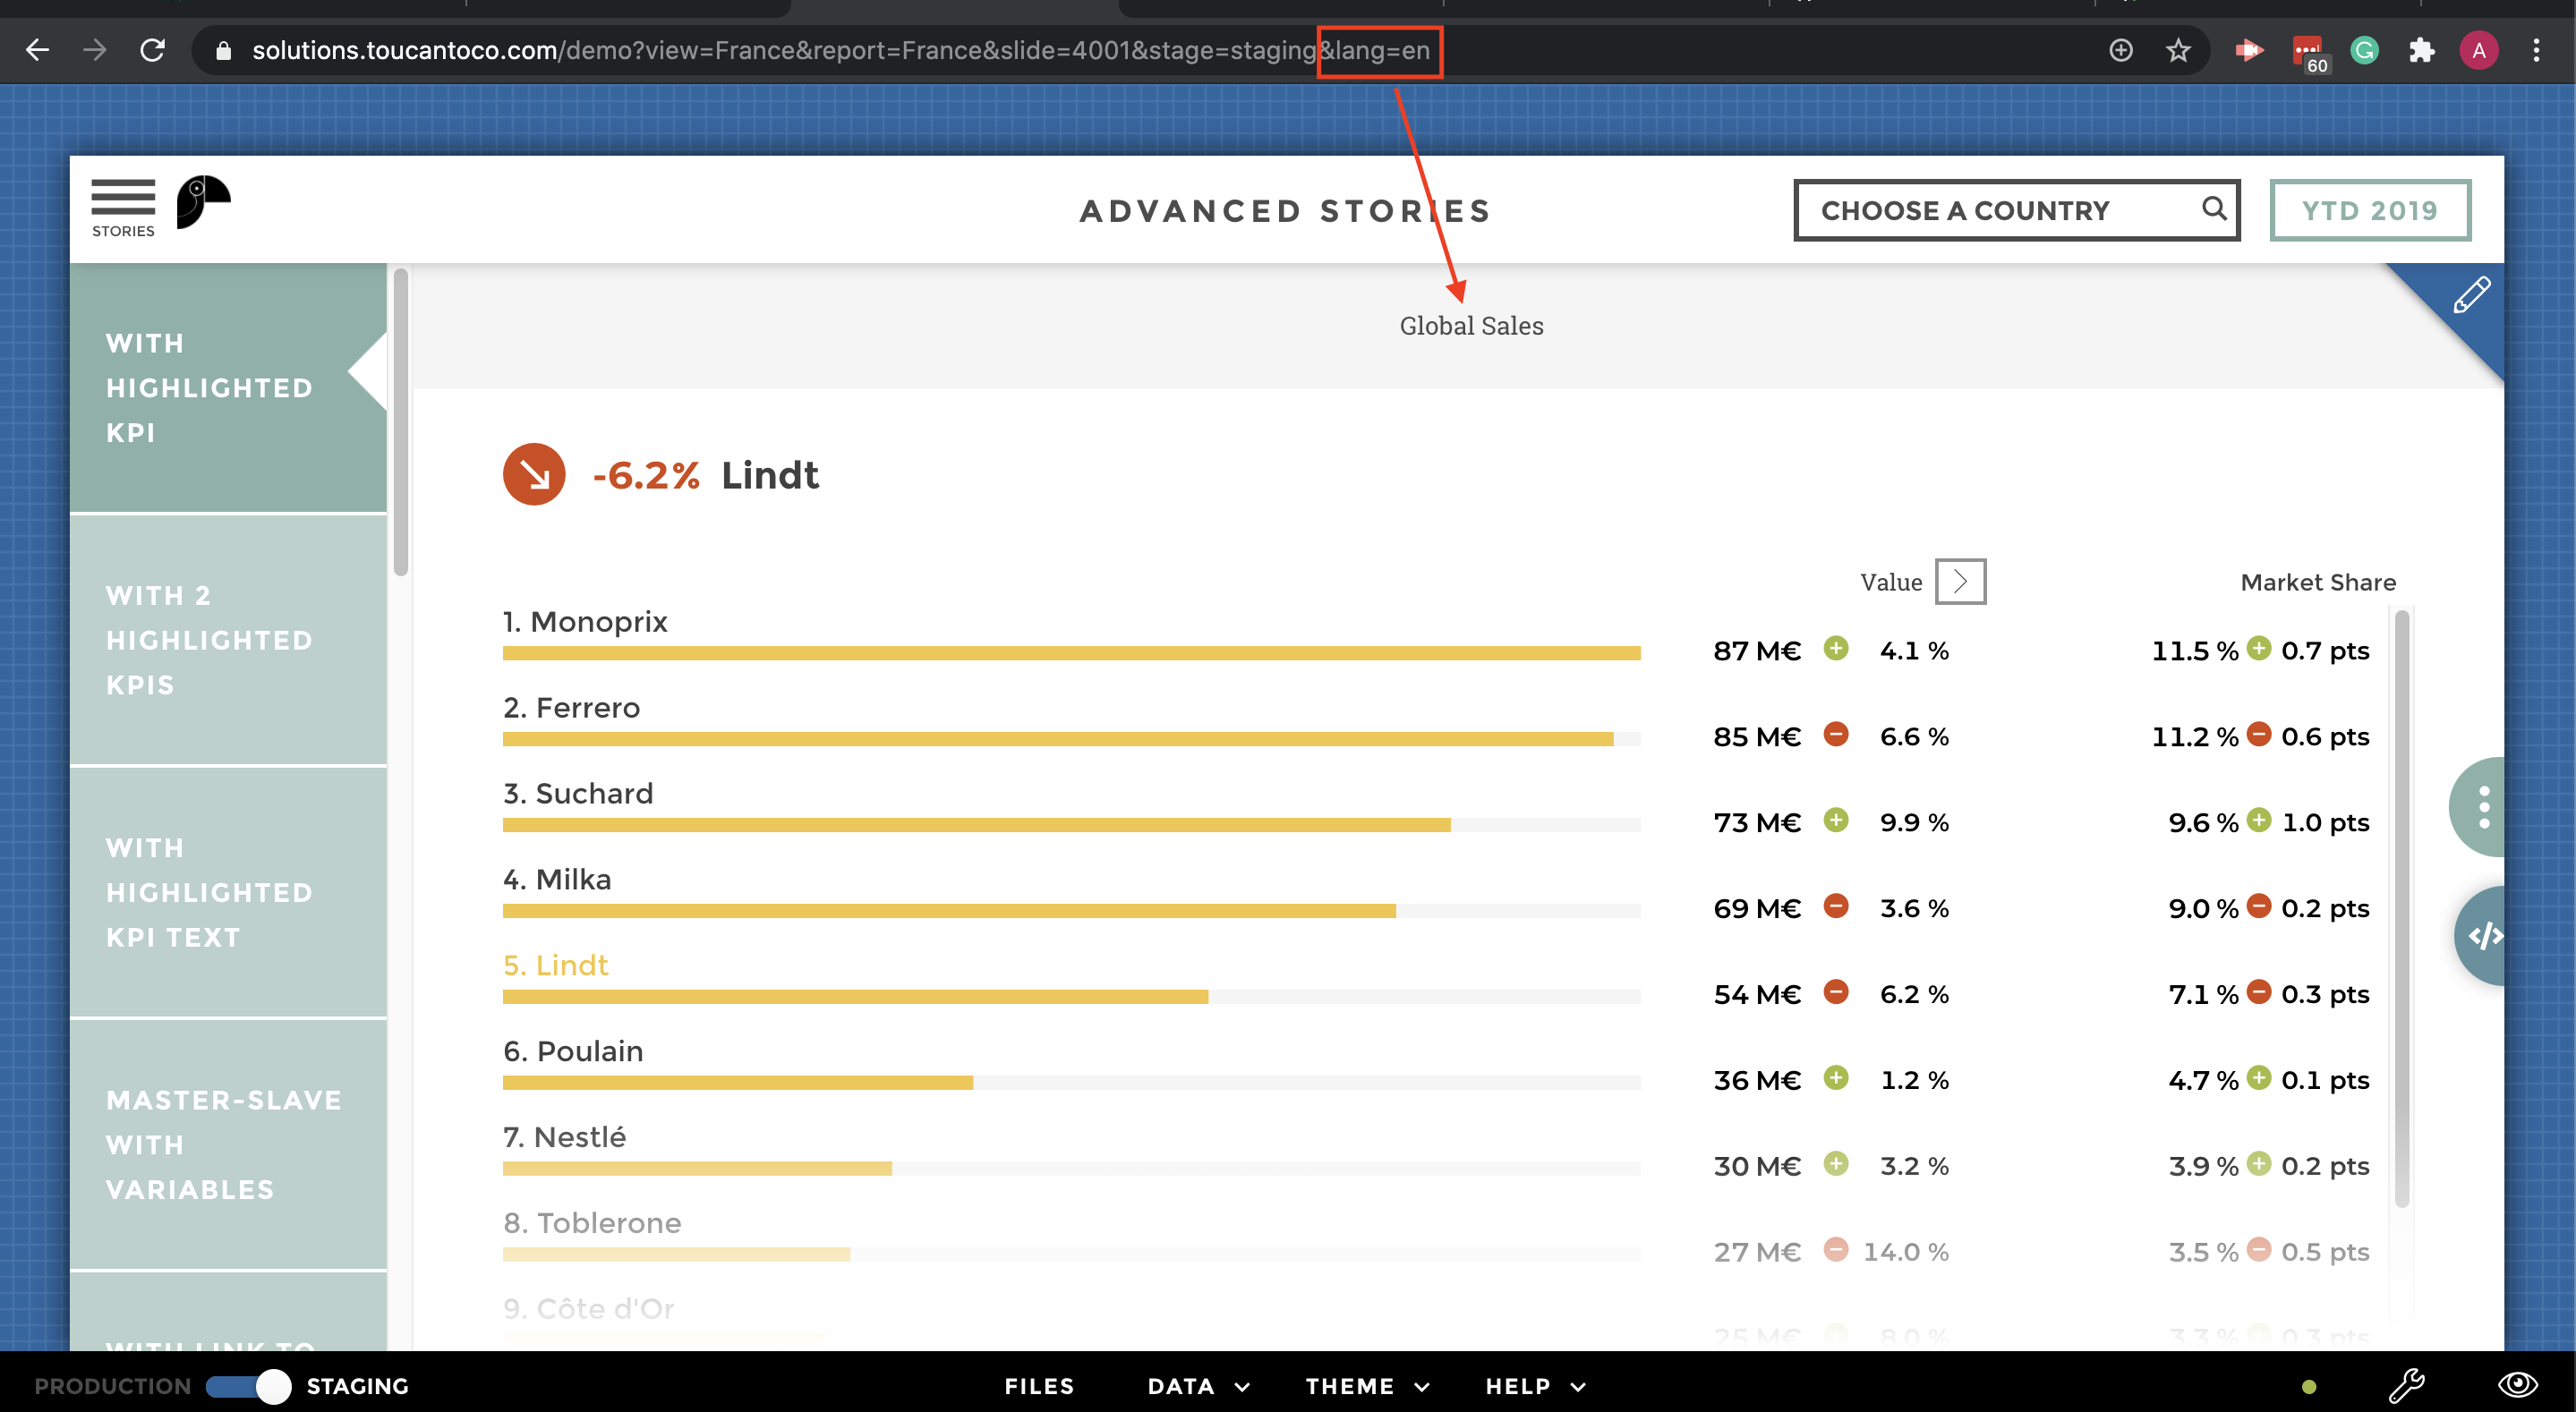
english
6/ Or… in French 🇫🇷

french
Do not hesitate to reach us if you’re facing any issue !