How to :: go from single-tenancy architecture to multi-tenancy with Toucan Toco
This tutorial is made for you if each of your clients is a tenant on your Toucan Toco instance, and their data all follow the same Data Model. It will show you how to avoid maintaining an application for each of your clients, thanks to dynamic parametrization of databases connections information (host, connection credentials, etc…) when your data storytelling is the same for all of them.
So today, we will see how to make that information dynamic, leveraging variables stored into your user tokens.
Connector Configuration
First Step
Create a connection with your connector via our “Connectors” interface.
Here’s an example with our HTTP API Connector.

Go to Connectors
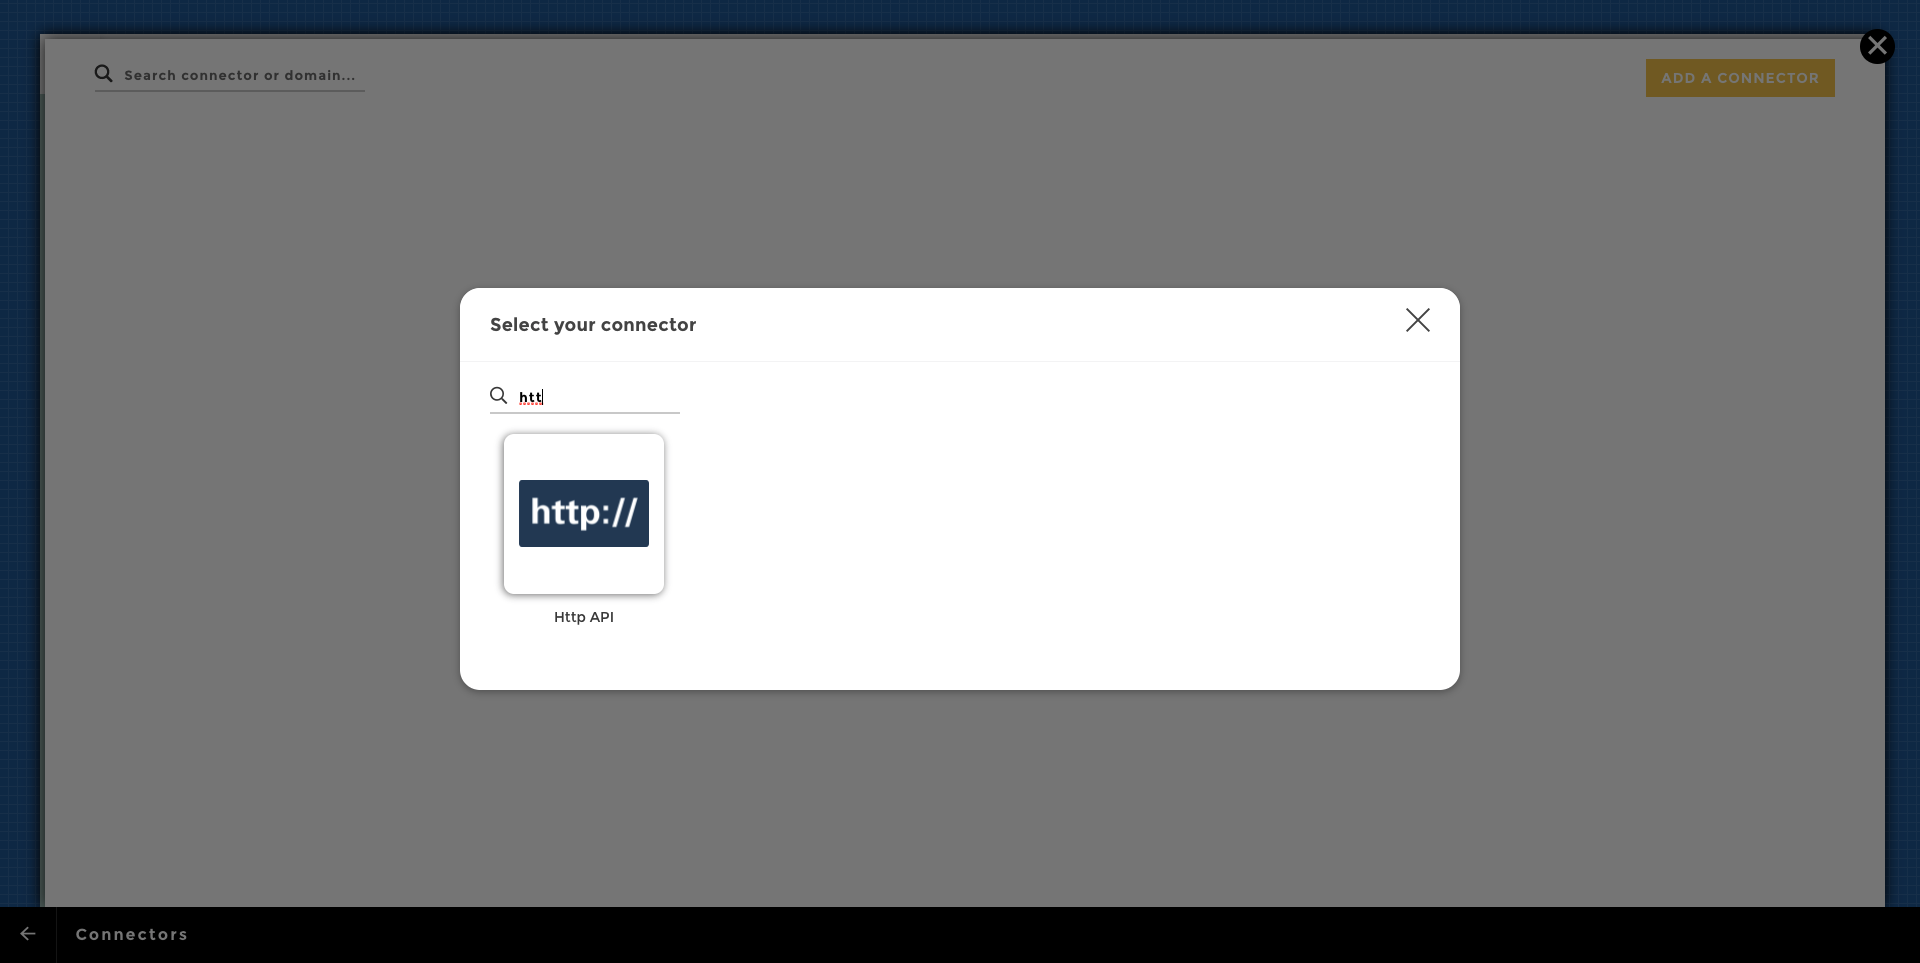
HTTP API Connector
Do not worry about these values for now, let us just use placeholders as we will edit this later on the tutorial.
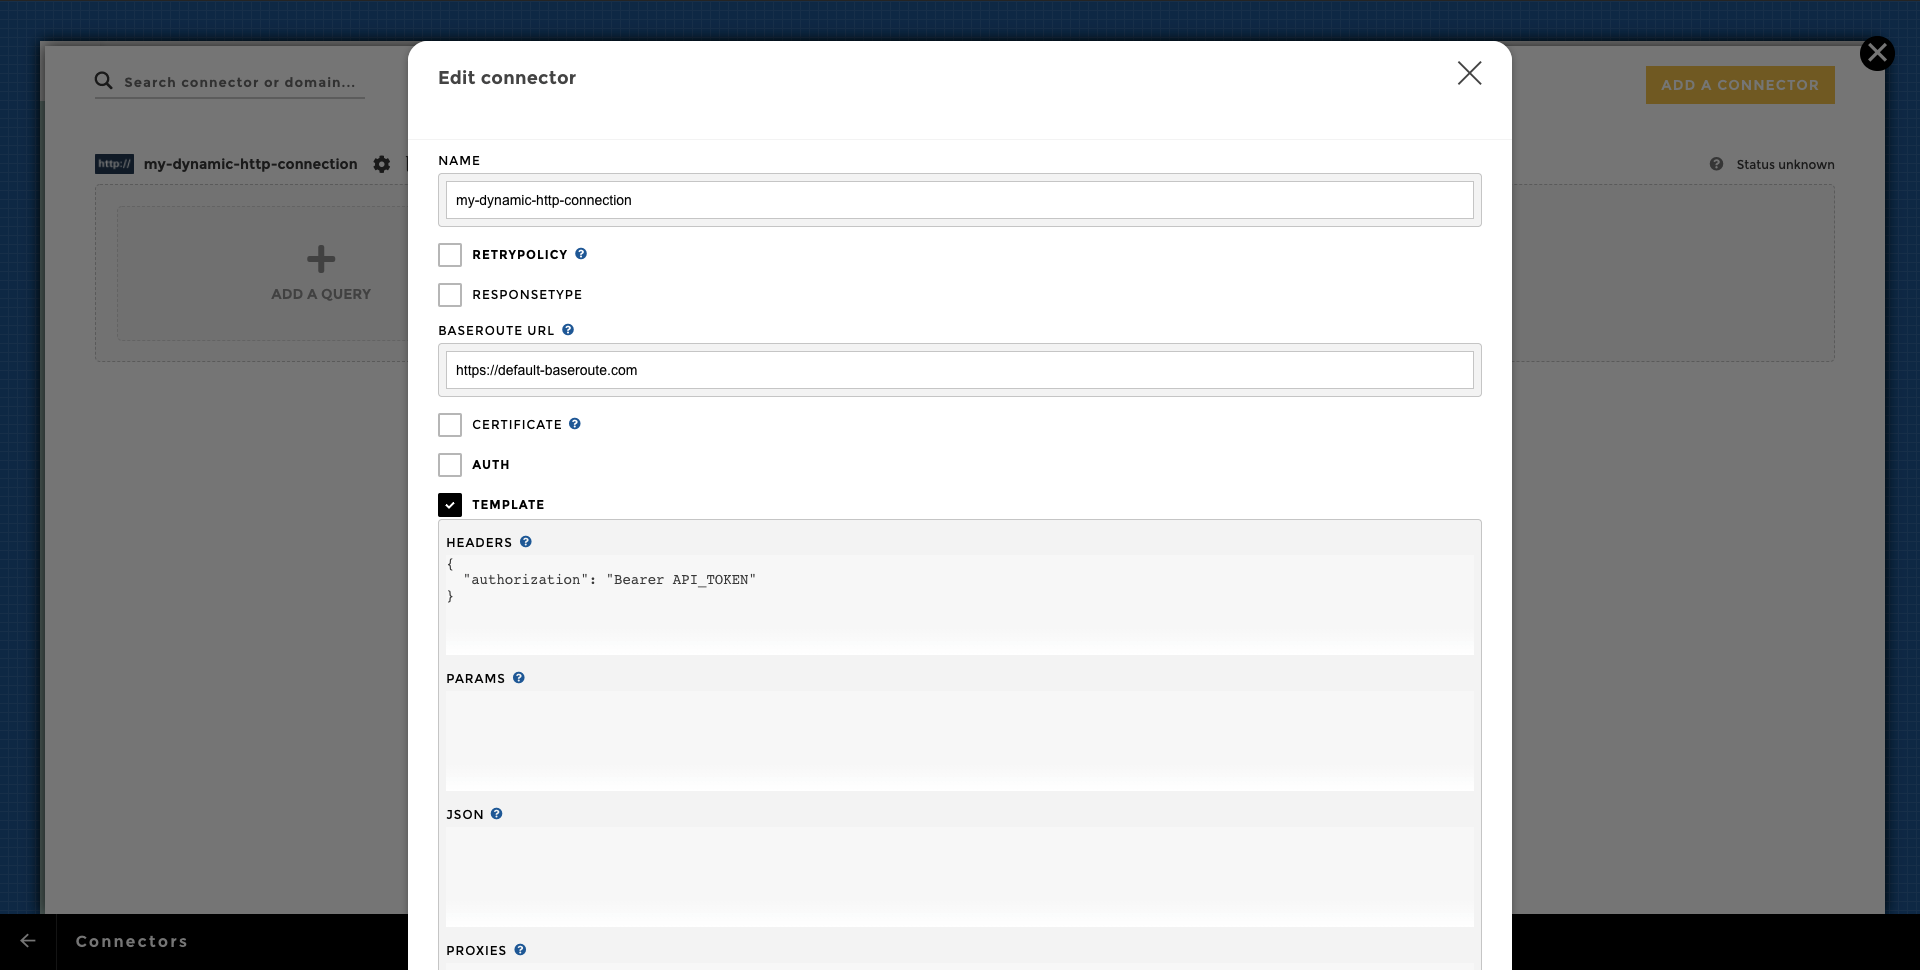
Connector Configuration

Connector - Baseroute
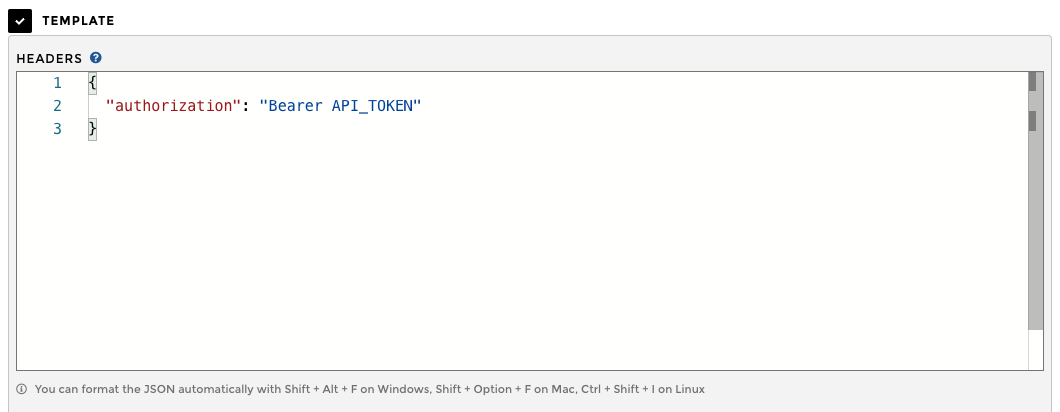
Connector - Headers
Second Step
Now, we will render those fields dynamically by editing the ETL Configuration file.
Click on “Files” in your studio toolbar. 
And then edit the ETL Configuration file. 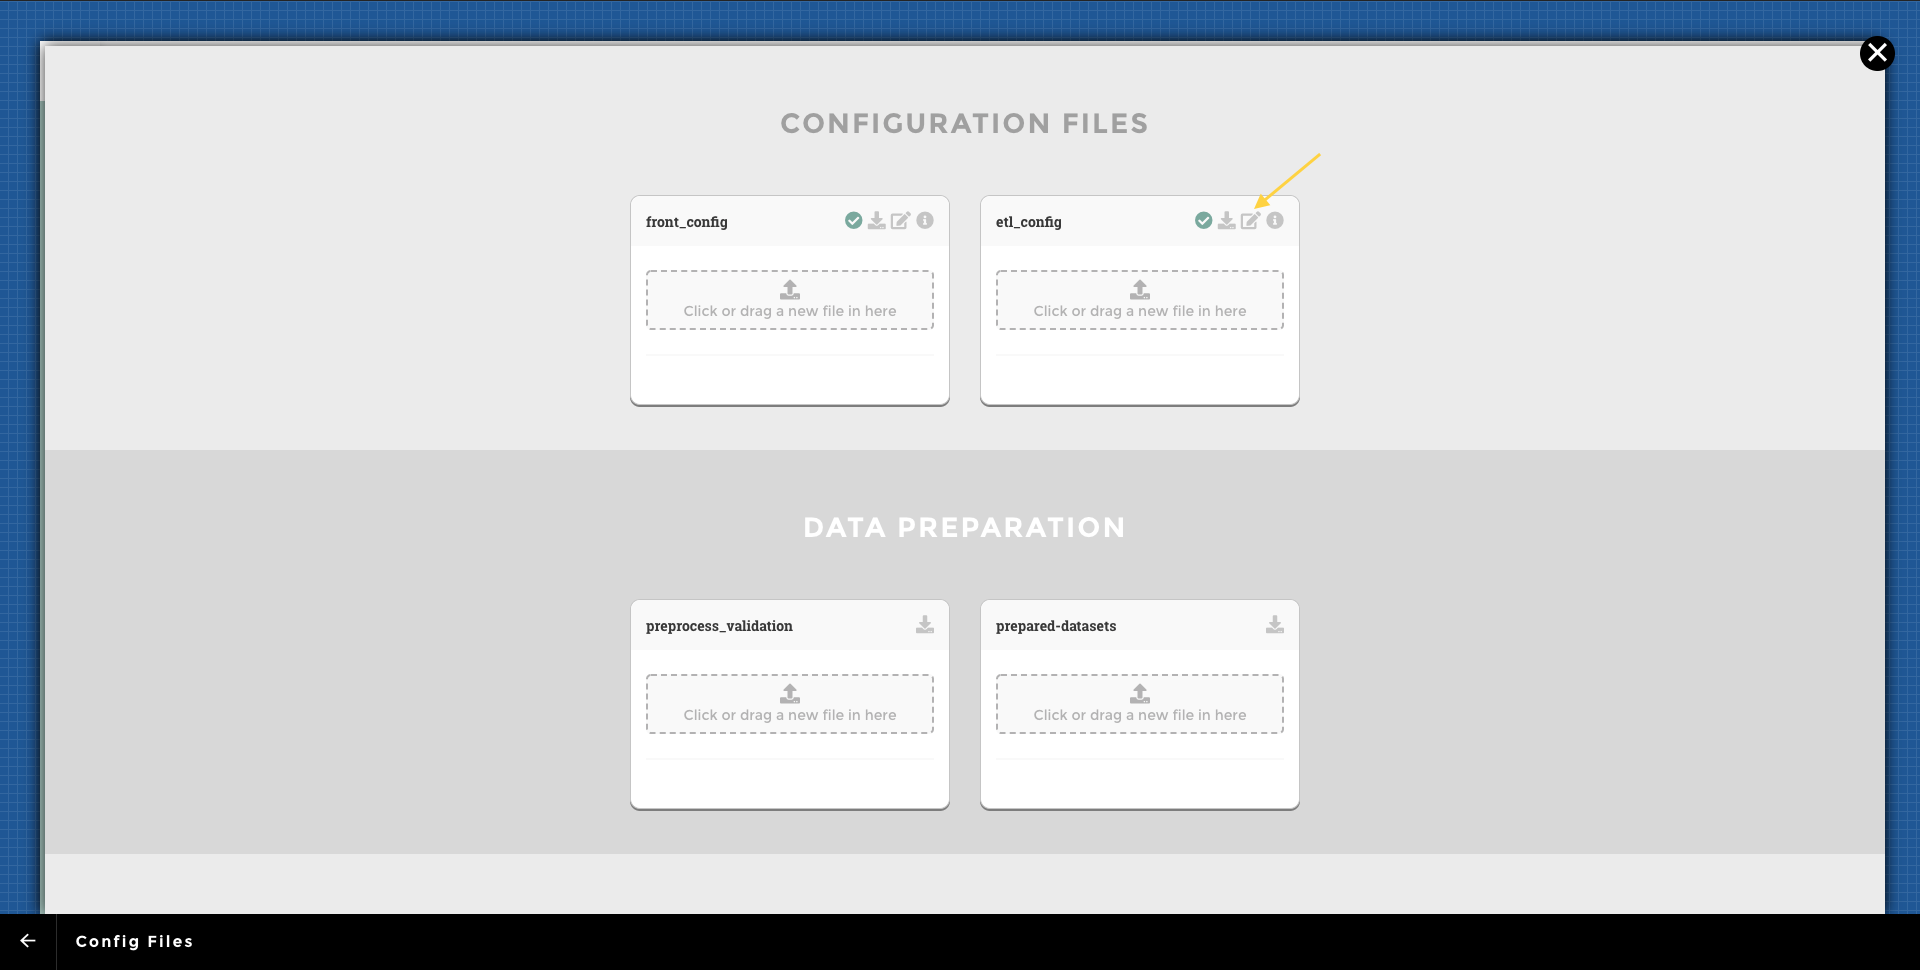
Now, we will retrieve our connector configuration inside the DATA_PROVIDERS key. From there, we are now able to retrieve and use users’ relative information with the jinja templating.
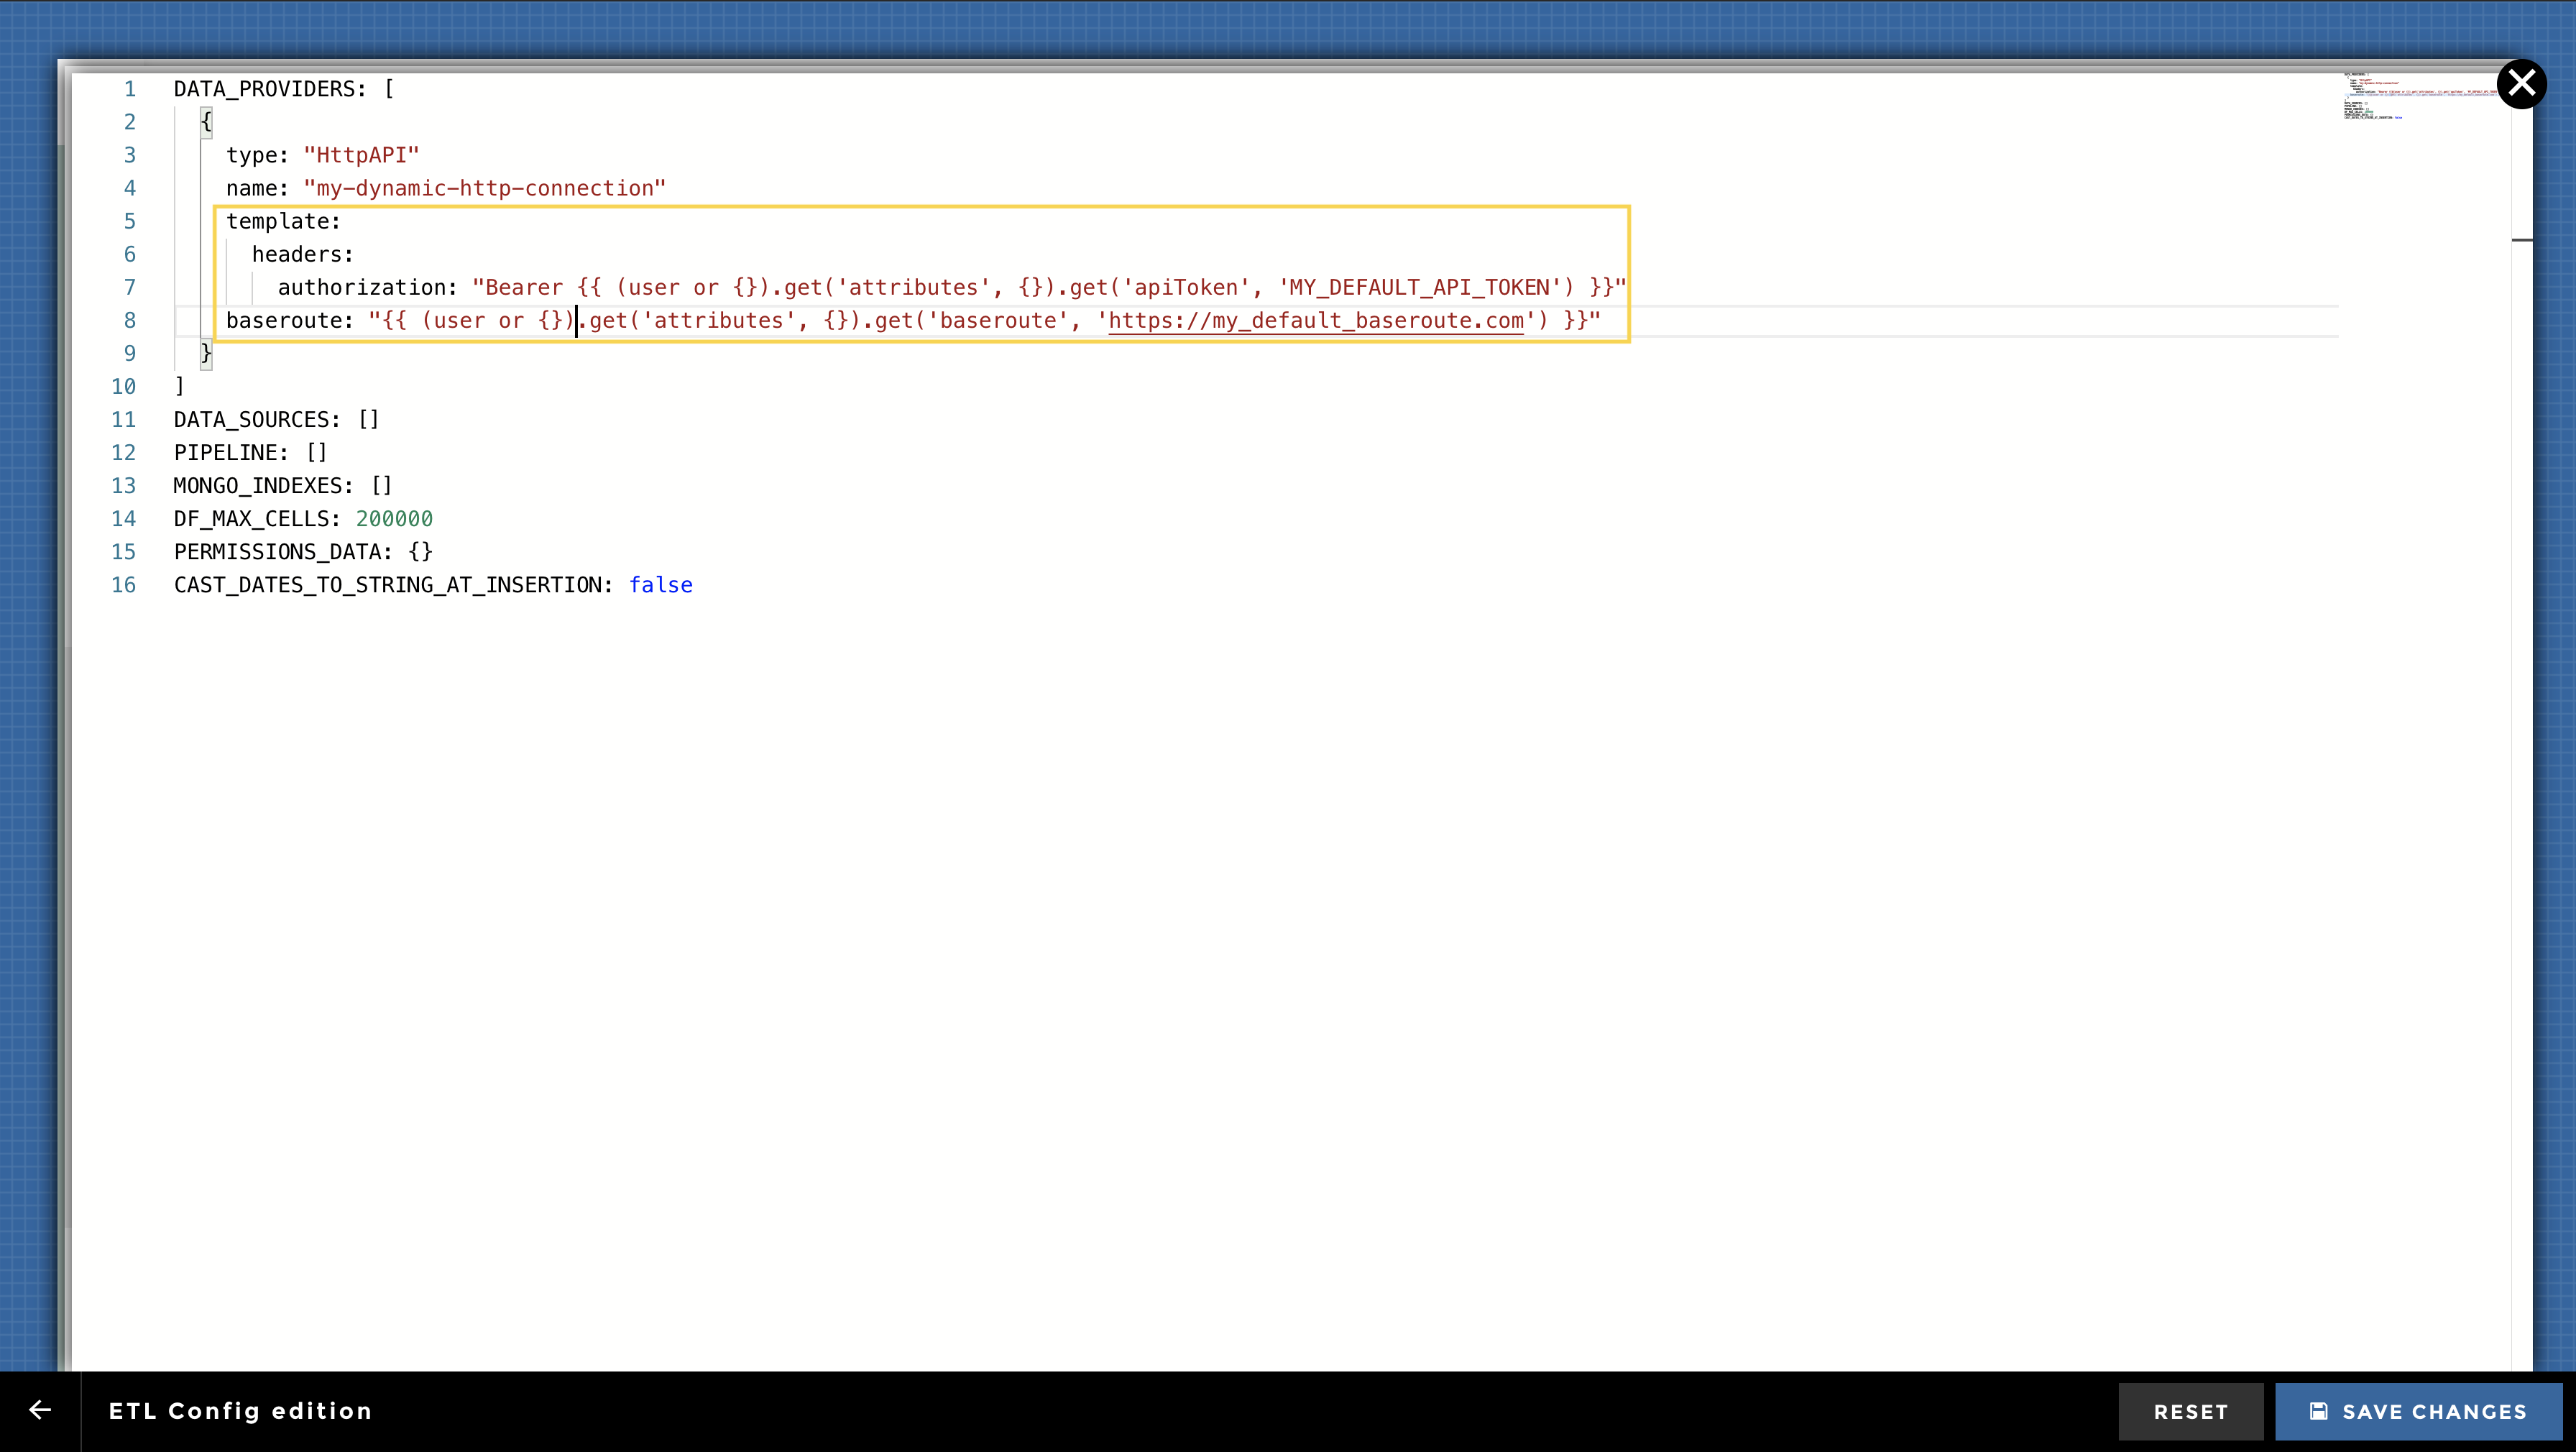
ETL Config
Tip
The default values are quite useful, they let you write your data storytelling with a default connection that does not depend on an end user token and profile information.