How to :: Set-up, manage and test custom visibility
A custom visibility is just a design rule to display or not a tile, chapter, subchapter or story.
How does it work ?
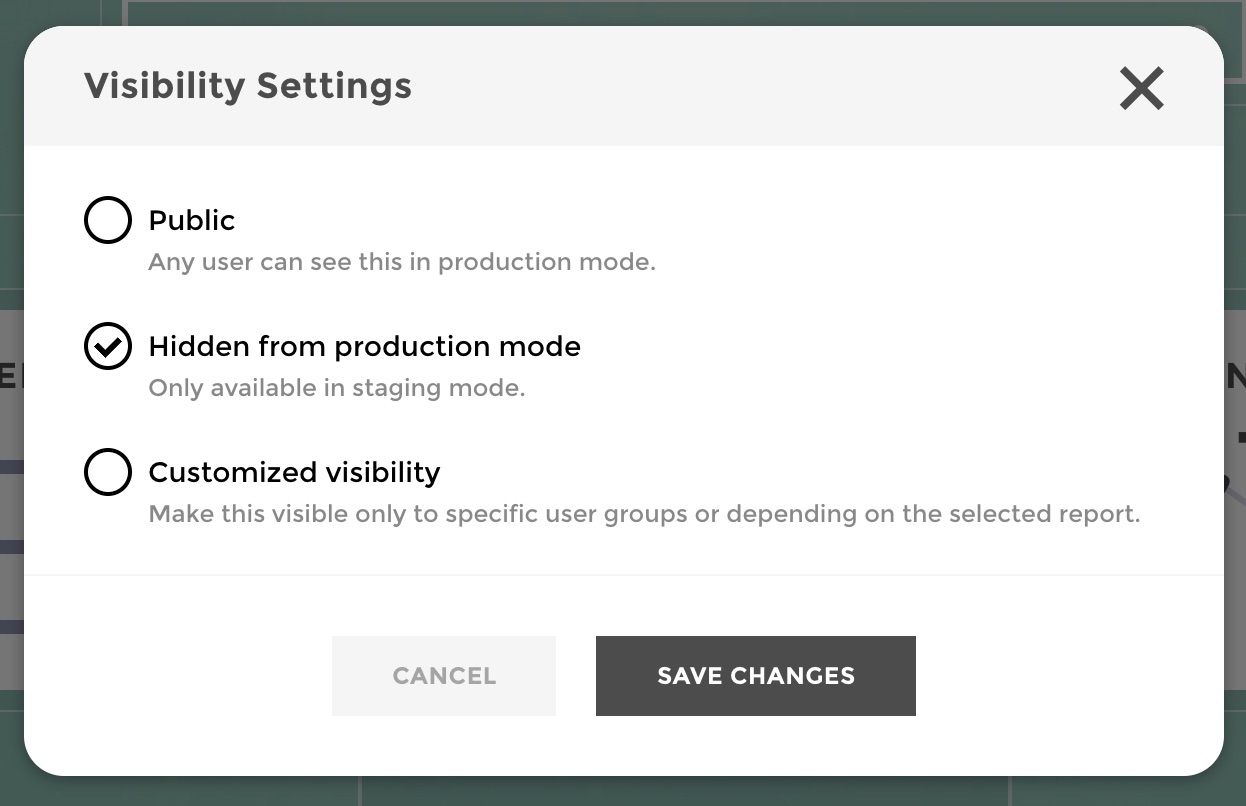
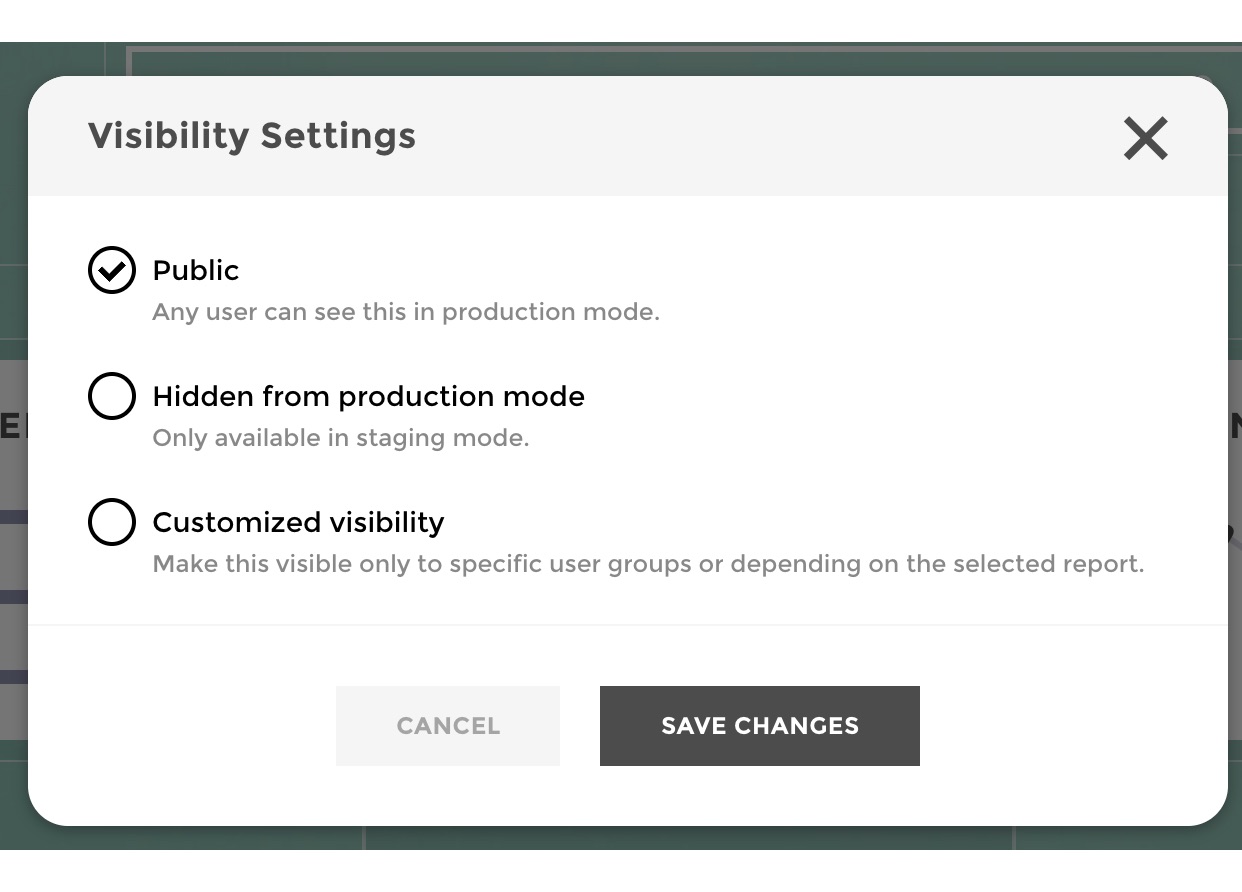
By default when you create content (a tile, chapter, subchapter or story), it is visible by everyone, for every view. But you can change this default behavior to either:
- hide completely the content in production, or
- by defining a specific rule to display or not the content depending on either:
- views (= reports), or
- user groups.
You can quickly identify the visibility status of any content by looking at the visibility icon:
- No icon: the story will always be visible
- Slashed eye icon: the story will be hidden in production mode
- Lock icon: custom visibility: the story will be visible in some specific cases
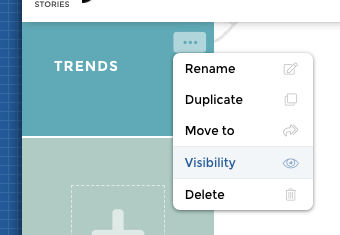
You can access the visibility settings by opening the actions menu and clicking visibility
Now let’s have a tour of this feature through an example!
Manage visibility
We will show here how to configure visibility on tiles, but the exact same steps apply for the visibility configuration of a chapter, suchapter or story.
For our example, let’s say that you are a retail businness that tracks revenues by shop, by country or globally.
So you have 3 kinds of views:
- a TOTAL GROUP view that consolidates all revenues and tracks revenue by country or by shop
- countries view (say FRANCE, SPAIN and USA) that consolidate all the shops revenues for a given country, and tracks revenue by shop for a given country
- shops view that track revenue for a given shop.
Your underlying view data looks like this:
| REPORT | REPORT_GROUP |
|---|---|
| TOTAL GROUP | GROUP REPORT |
| FRANCE | COUNTRY REPORTS |
| UK | COUNTRY REPORTS |
| SHOP_FR_1 | FRANCE |
| SHOP_FR_2 | FRANCE |
| SHOP_UK_1 | UK |
| SHOP_UK_2 | UK |
And you have 3 tiles on your home:
- COUNTRIES BENCHMARK that compares countries revenues
- SHOPS BENCHMARK that compares shops revenue
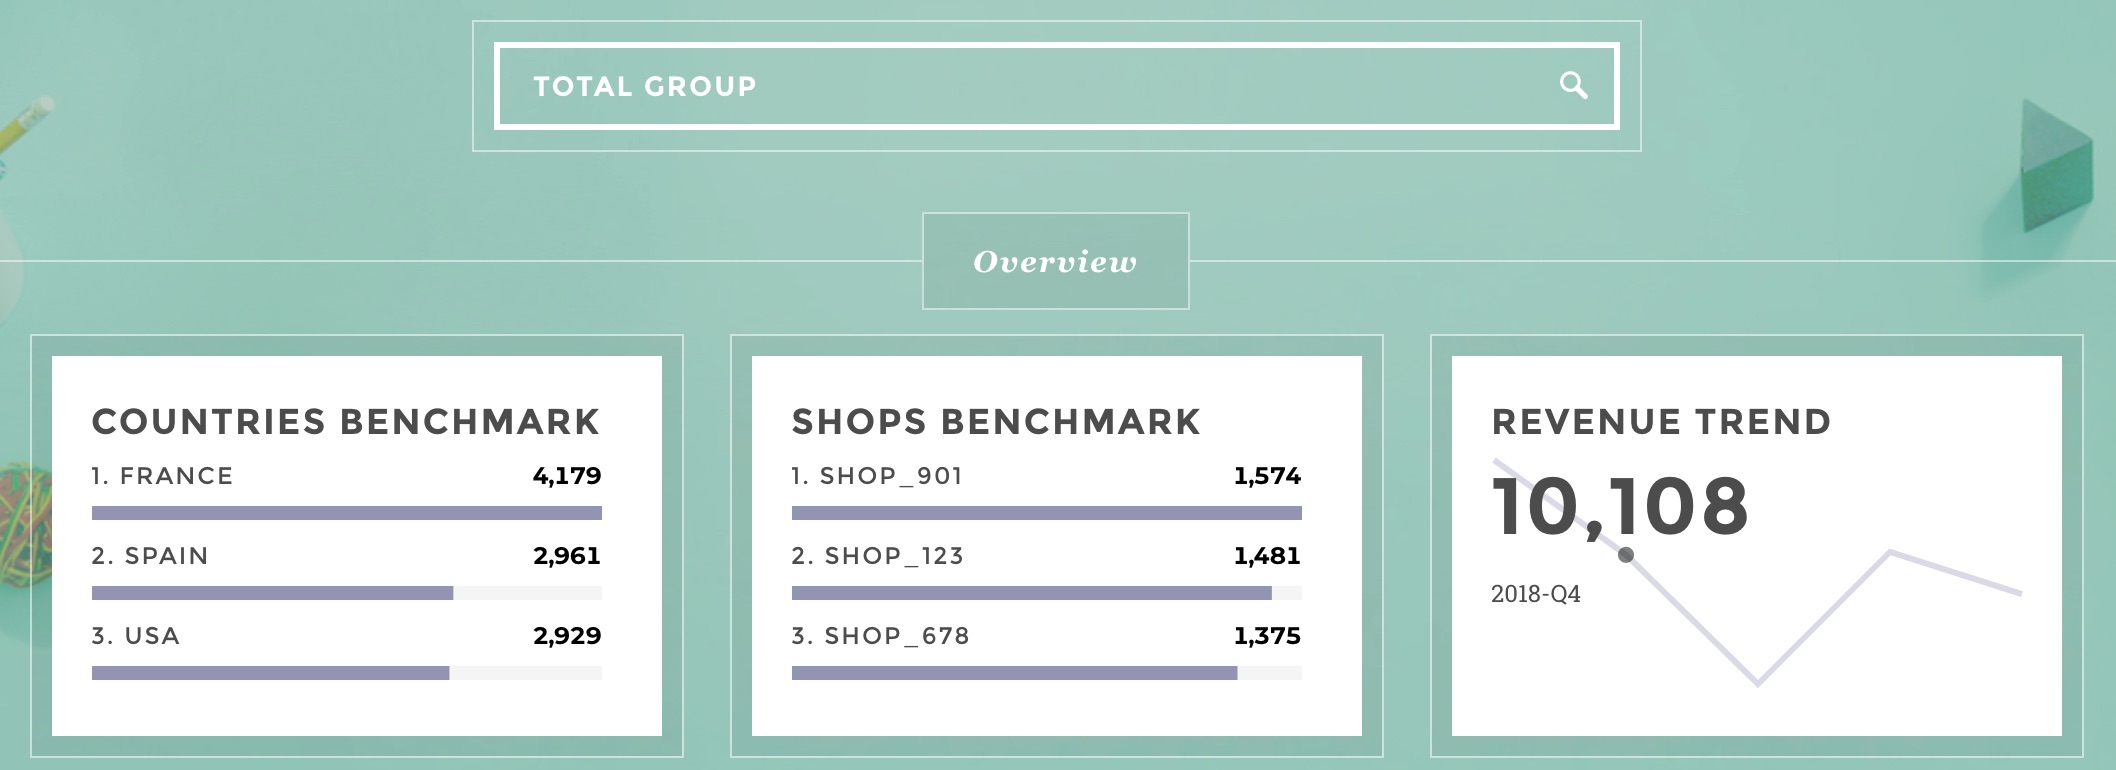
- REVENUE TREND that shows the evolution of revenue consolidated at the shop, country or global level dependinng on the selected view
Your home looks like this:
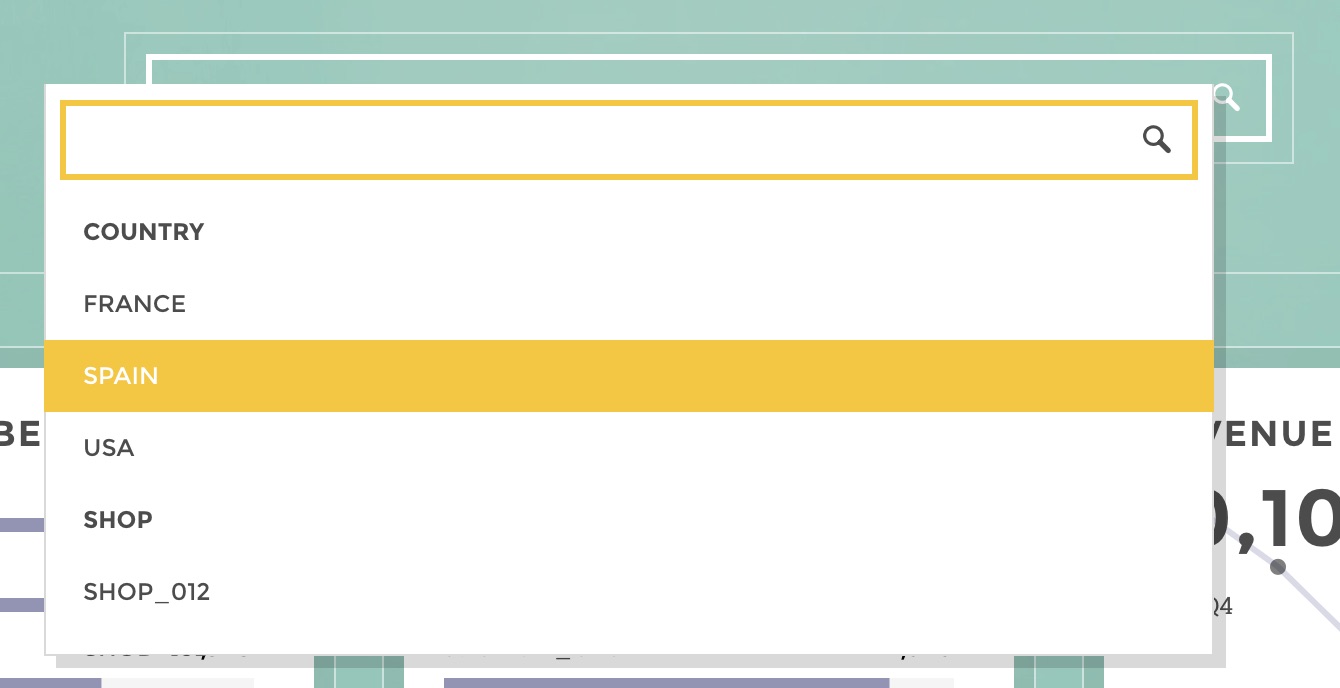
And your view selector looks like this:
Custom visibility
Warning
Regarding tiles that are available in MyFavorites™, you need to specify Custom Visibilities at tile level. Those applied at the Category level are ignored making all tiles in a category with Custom visibility available in MyFavorites for end-users.
Now you need a more specific visbility configuration for the SHOPS BENCHMARK and the COUNTRIES BENCHMARK tiles.
You have two ways of setting a custom visibility rule:
- based on reports (=views), or
- based on user groups
Custom visibility based on report
You want the SHOPS BENCHMARK tile to be available only for the TOTAL GROUP and for the countries view (it is not pertinent for a shop alone).
So let’s define a custom visibility rule based on report (=view). You can:
- click on the visibility icon of the tile,
- select “Customized visibility”
- specify that the rule will depend on “Selected report”
- check all the reports that will display the tile
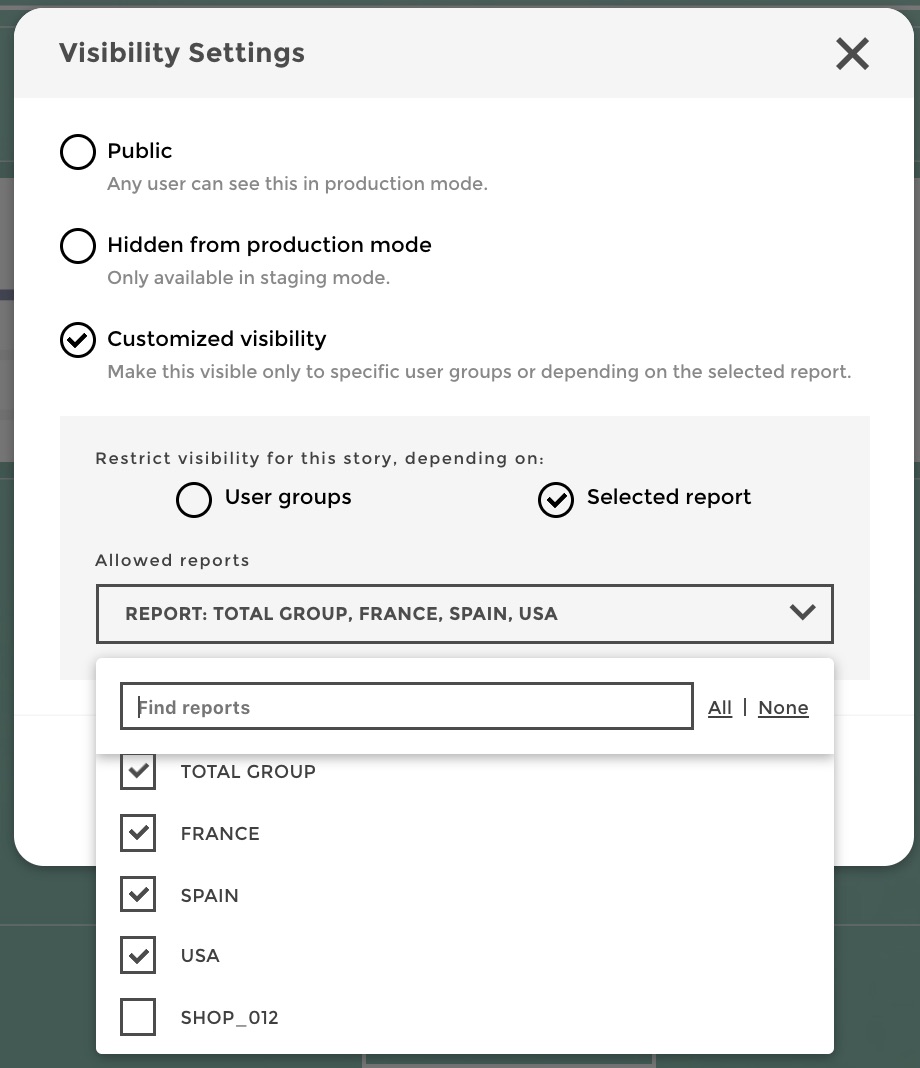
We checked matching values in the “REPORT” column of your underlying report data. But what if you add a new shop in a new country in the future ? You would like the tile to be visible to people in the new country view, ideally without having to go back to the visibility settings and check the new value in the “REPORT” column.
Well, remember that you have another column in your view data: the “REPORT_GROUP” column that specify whether a view is for “ALL COUNTRIES”, a “COUNTRY” or a “SHOP”.
So we can express our visibility rule on this more dynamic column:
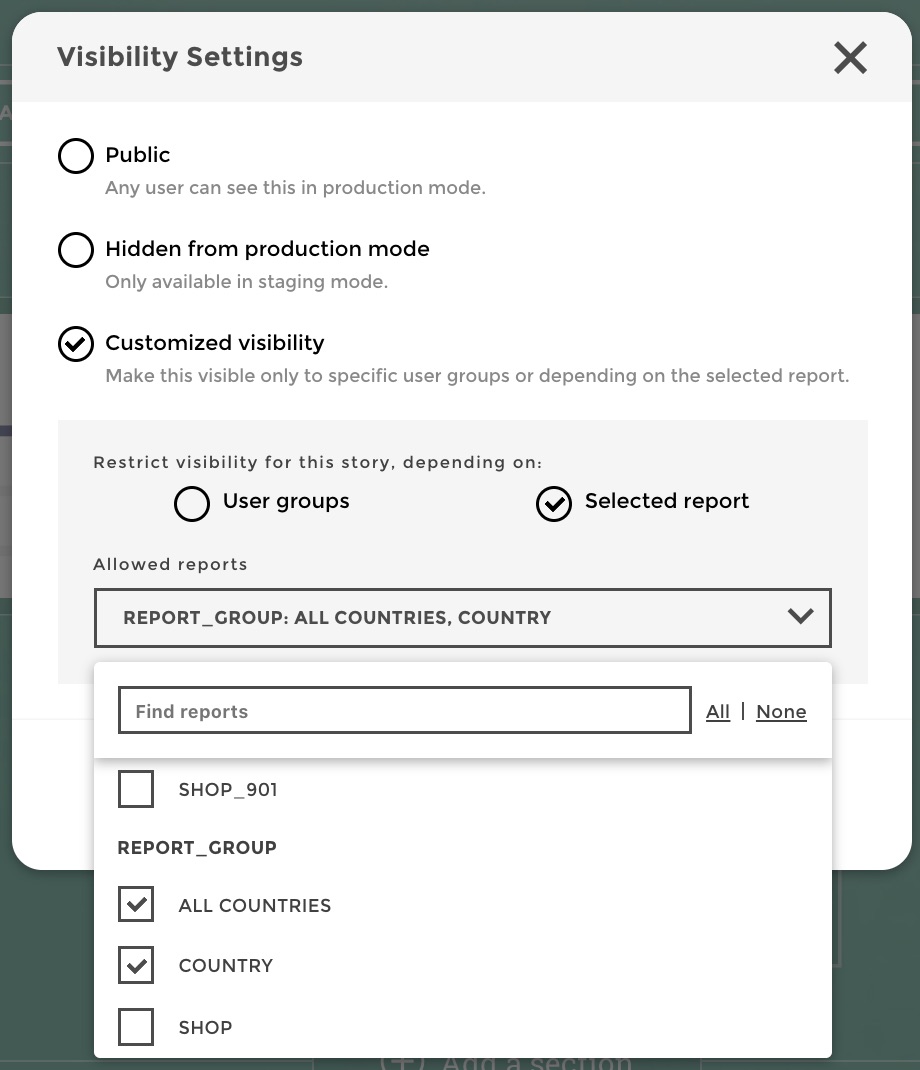
Now if you add a new shop in a new country in your view data, the new country view will be identified as a “COUNTRY” view in the “REPORT_GROUP” column and it will then be dynamically added to the set of views that have access to the tile!
You can check values in any column of your view data, so you should rely on this data to bring dynamism to your rules.
Custom visibility based on user groups
You want the COUNTRIES BENCHMARK tile to be accessible only for the TOTAL GROUP view. So you could set a custom visibility the same way as illustrated above, based on views.
But let’s say that you rather need to express a rule that states to which user groups you want the tile to be visible.
You have users that have the COMEX user group, who should be the only ones to have access to the COUNTRIES BENCHMARK tile.
To set this rule, you can:
- click on the visibility icon of the tile,
- select “Customized visibility”
- specify that the rule will depend on “User groups”
- check all the user groups that will have access to the tile
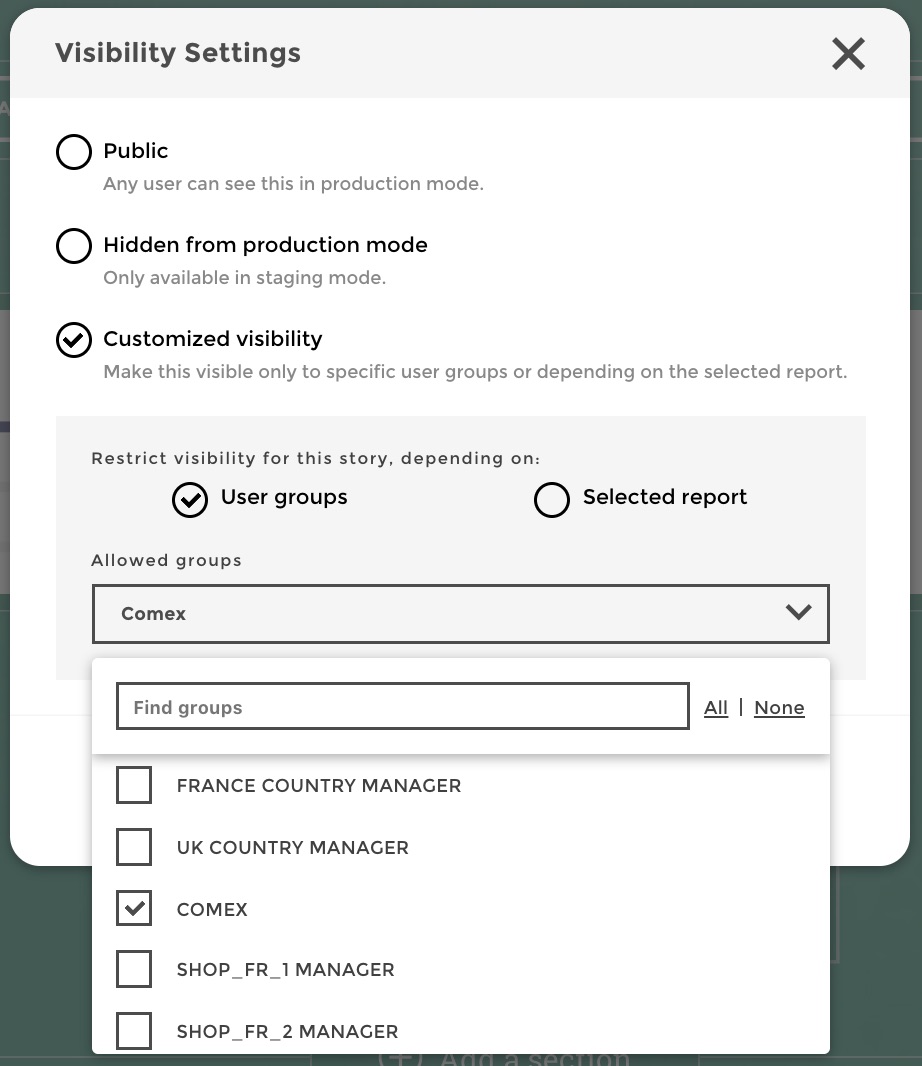
In this case, we check only the “COMEX” user group.
Setting visibility on user groups is particularly useful when you have an app without a view selector.
Test visibility
View the app as an existing user
Now you want to test that your visibility rules are OK. To do so, you do not need to push anything in production and test as fake users for example. You have a very useful feature in staging mode, to easily test your visibility settings: you can view the app as another user, with all its user attributes.
Hit the “view as” icon in the studio toolbar as shown below:
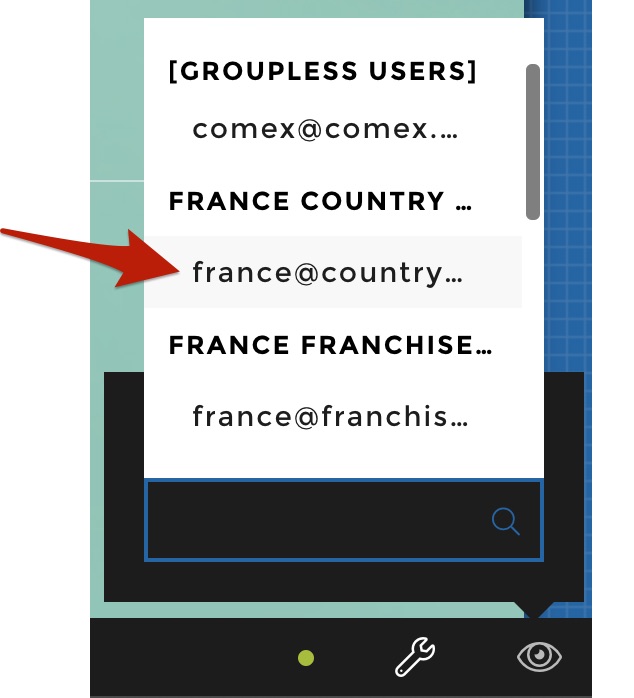
From there if you can choose to impersonate one of the users that have access to the small app. You can just click on any user to view the app as this user.
In our example, let’s select the France country manager user who has access to the FRANCE view and to all French shops views, and who do not have the COMEX user group :
Once you have selected a user you switch to a new mode where the studio toolbar now indicates you that you are currently viewing the app as a specific user:
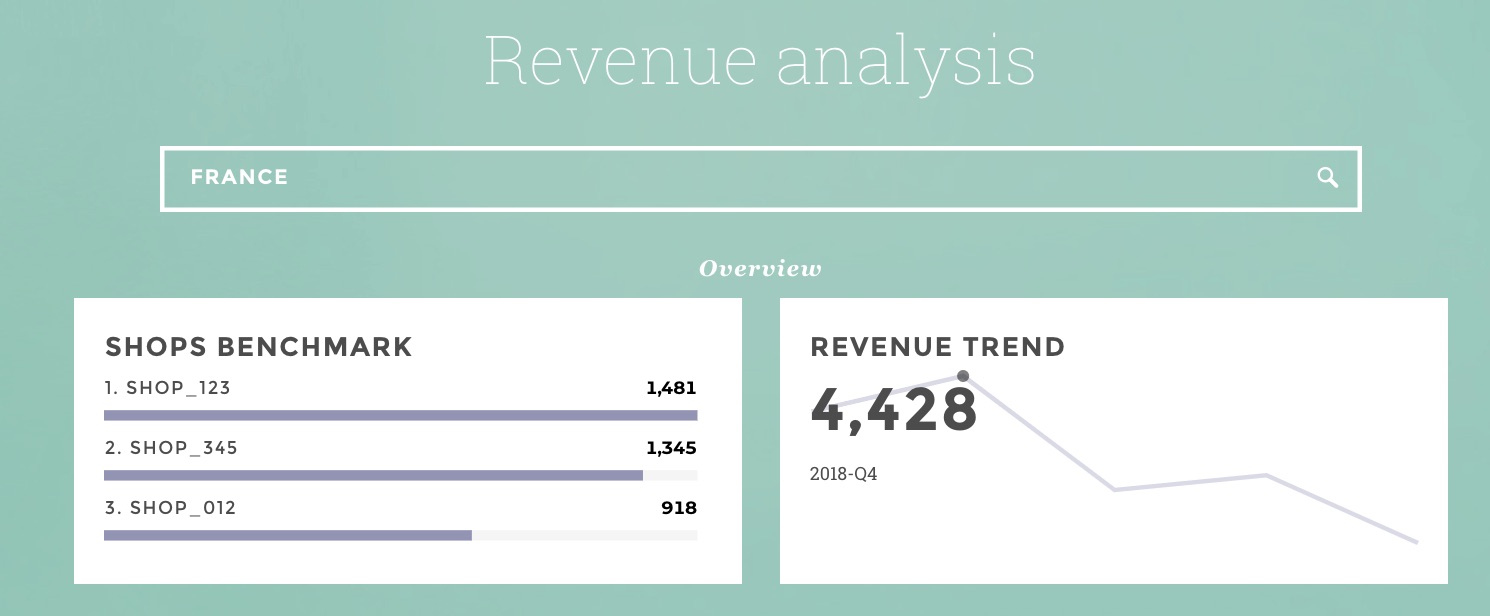
You can validate from our example that the France Country Manager has access to the SHOPS BENCHMARK and the REVENUE TREND tile as expected:
If you want to quit the view and get back to the studio, just click on the cross on the right of the bottom toolbar as shown below:

Now let’s try to view the app as a COMEX user:
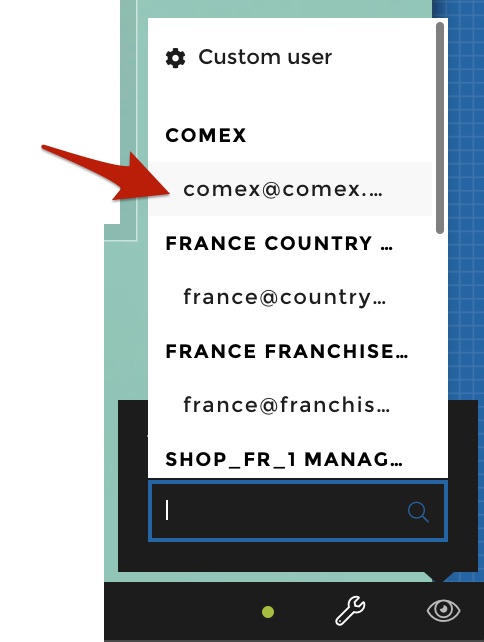
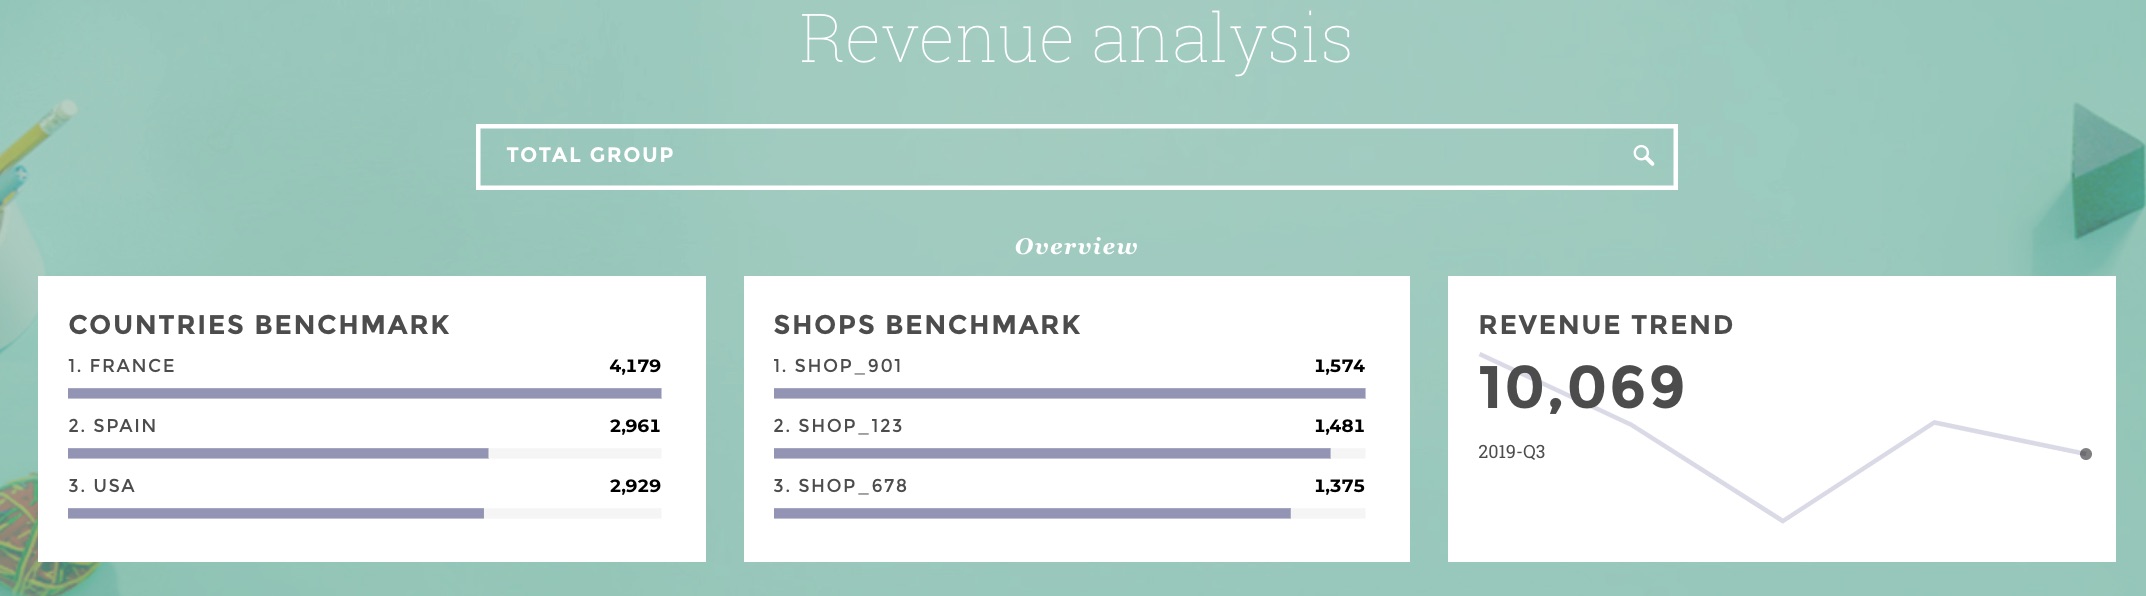
And yes, the COUNTRIES BENCHMARK tile appears for this user:
Quick and easy right? :)
View the app as a custom user
Instead of selecting an existing user, you can define a fake, custom user on-the-fly.
This can be very useful when you need to think ahead and define rules based on user groups before having real users attached to those user groups.
When you are Admin, you can access this feature after clicking on the View as icon as shown below:
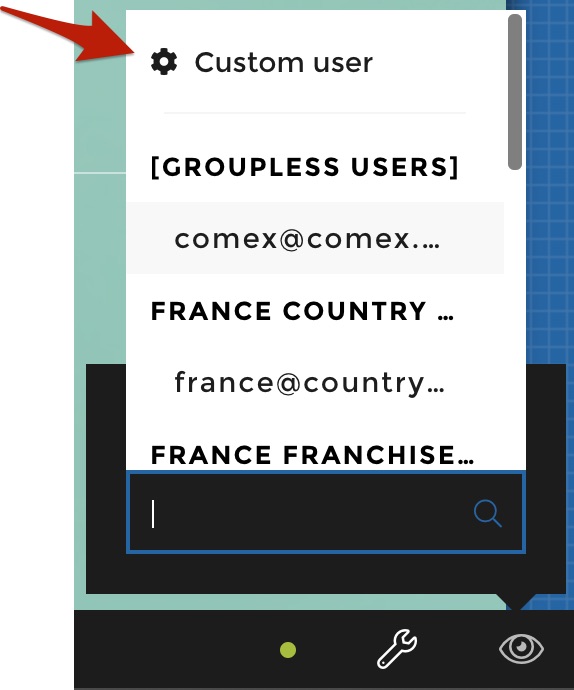
From there you can select user groups that you want to attach to your user on-the-fly:
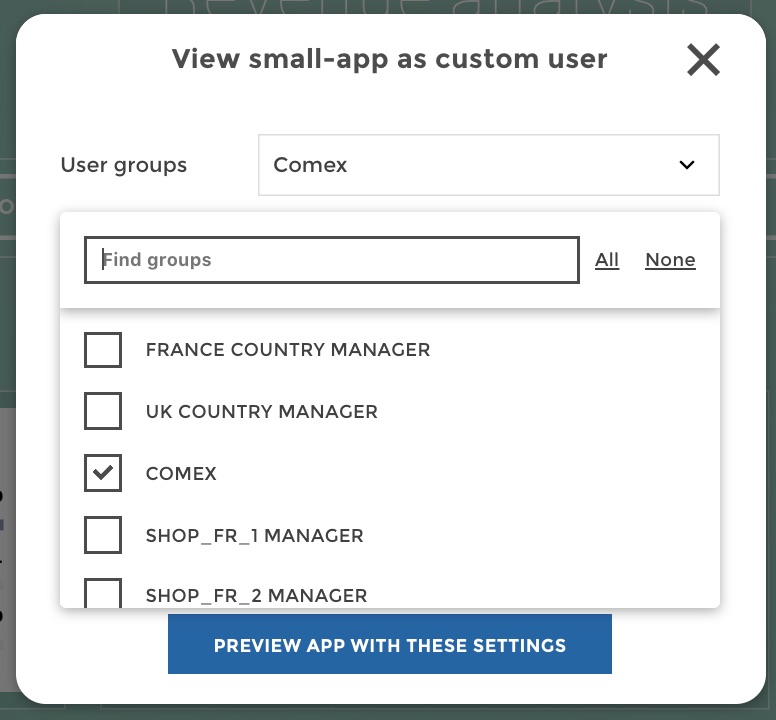
Note that if you are not Admin, you do not have access to the list of users, so clicking on the “View as” icon will bring you directly to this custom user configuration.
If you select the COMEX user group in the list of user group and save, you will see as in our last example that you see the app as if you were a user with the COMEX user group (so all the tiles get displayed).
